




ChatGPT has been around for a short time, and it's already making waves in the web design industry. Whether it's basic content generation or constructing entire websites, developers and site owners have discovered methods to use the artificial intelligence technology to enhance efficiency.
After reading this post, you will be able to learn how to use ChatGPT to create a website. From the homepage HTML files to a navigational menu, to a footer area, to CSS styling - you’ll have everything.
Continue reading to discover more about using ChatGPT to create a website.
How can ChatGPT help you build a website?
ChatGPT is a tool for natural language processing that uses artificial intelligence to generate a thorough reply based on a user's input. It's widely known that ChatGPT can generate written material for webpages, and it also excels at writing the code for a website when given the task.
That's our main focus here. We prefer not to just duplicate content and insert it into a WordPress website. The concept is for ChatGPT to generate HTML, CSS, and JavaScript code, convert it into files, and then upload those files to the server of your preference.
Using a method like this, ChatGPT is able to generate:
- Complete homepages
- Navigational menus
- Footers
- Sidebars
- Additional pages like Contact, About Us, and even Shop pages
- All the HTML, CSS, and other code language files needed
- Content for your webpages
- Suggestions on hosting, business names, domain names, product ideas, and more
Nevertheless, ChatGPT is restricted to producing written material. Therefore, you cannot request it to perform actions that involve signing up on other websites or paying for a product.
Here's what ChatGPT is unable to accomplish for you:
- Purchase or set up a domain name
- Buy website hosting
- Content management (a platform like WordPress would be necessary for this)
- Set up plugins or themes
- Transfer the AI-generated files to a server (you need to do this by hand)
These restrictions should not prevent you from moving on, though. In the upcoming phases, we will demonstrate how to utilize ChatGPT to create a website. The outcomes are remarkable.
How to utilize ChatGPT for creating a website
Prior to starting, visit the OpenAI website and register to utilize ChatGPT.
We suggest using a desktop computer while learning how to utilize ChatGPT to create a website, as you will need to handle site files and upload them to a host dashboard (which can be challenging on a smartphone or tablet).
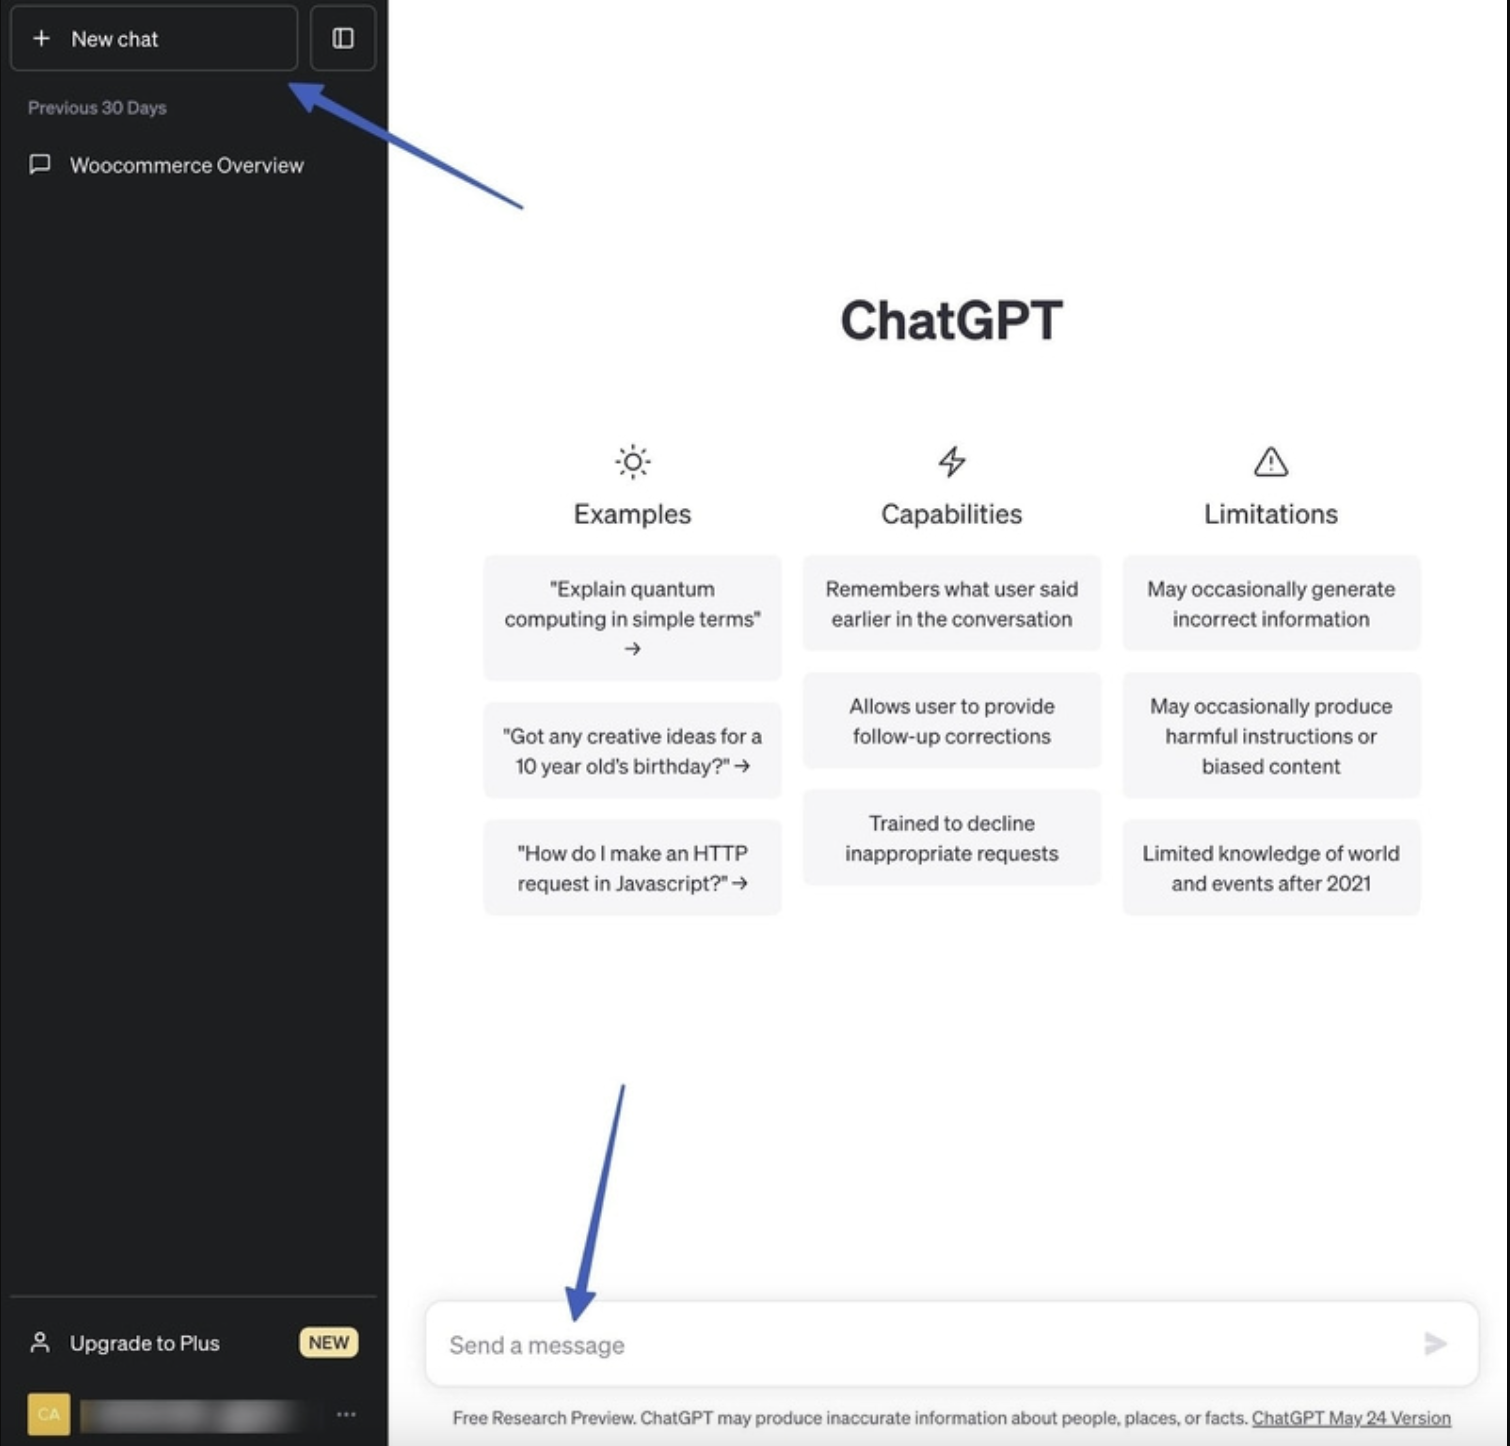
After creating an account, you will be directed to the main ChatGPT homepage. Here, you will find two sections to start a chat: one at the top left (New Chat) and the other at the bottom (Send a message). You will also see recommendations in the center, and your browsing history on the left side.
Position your cursor in the Send a message box to start creating a website.
In the following steps, we will provide you with specific instructions on what to enter into the message box to create a contemporary, content-rich, and mobile-friendly website.
Consequently, you will get:
- An HTML document for a single-page site containing a main page, pictures, footer, and menu for navigation
- Some formatting code in that HTML file
Next, we will demonstrate how to:
- Display those files on a web browser
- Transfer the files to a web server in order to make the site available online
Note: ChatGPT also has a paid version called ChatGPT Plus, which costs $20 a month. It provides you with access to a more sophisticated language model - GPT 4. Although you can follow the steps in this guide using the free version of ChatGPT, using the Plus plan will probably yield better results.
Step 1: Set your project requirements with ChatGPT
When you begin, it's a good idea to outline certain requirements for the ChatGPT bot. In this manner, it comprehends certain fundamental requirements that remain constant while you submit additional requests to develop your website.
You can adjust the requirements as you desire, however it's typically vital to detail aspects such as:
- Programming languages
- Organization of files
- Reactiveness
- How many files do you want in the end?
- There is no requirement to give explanations for the code.
Here’s an example of what to type in:
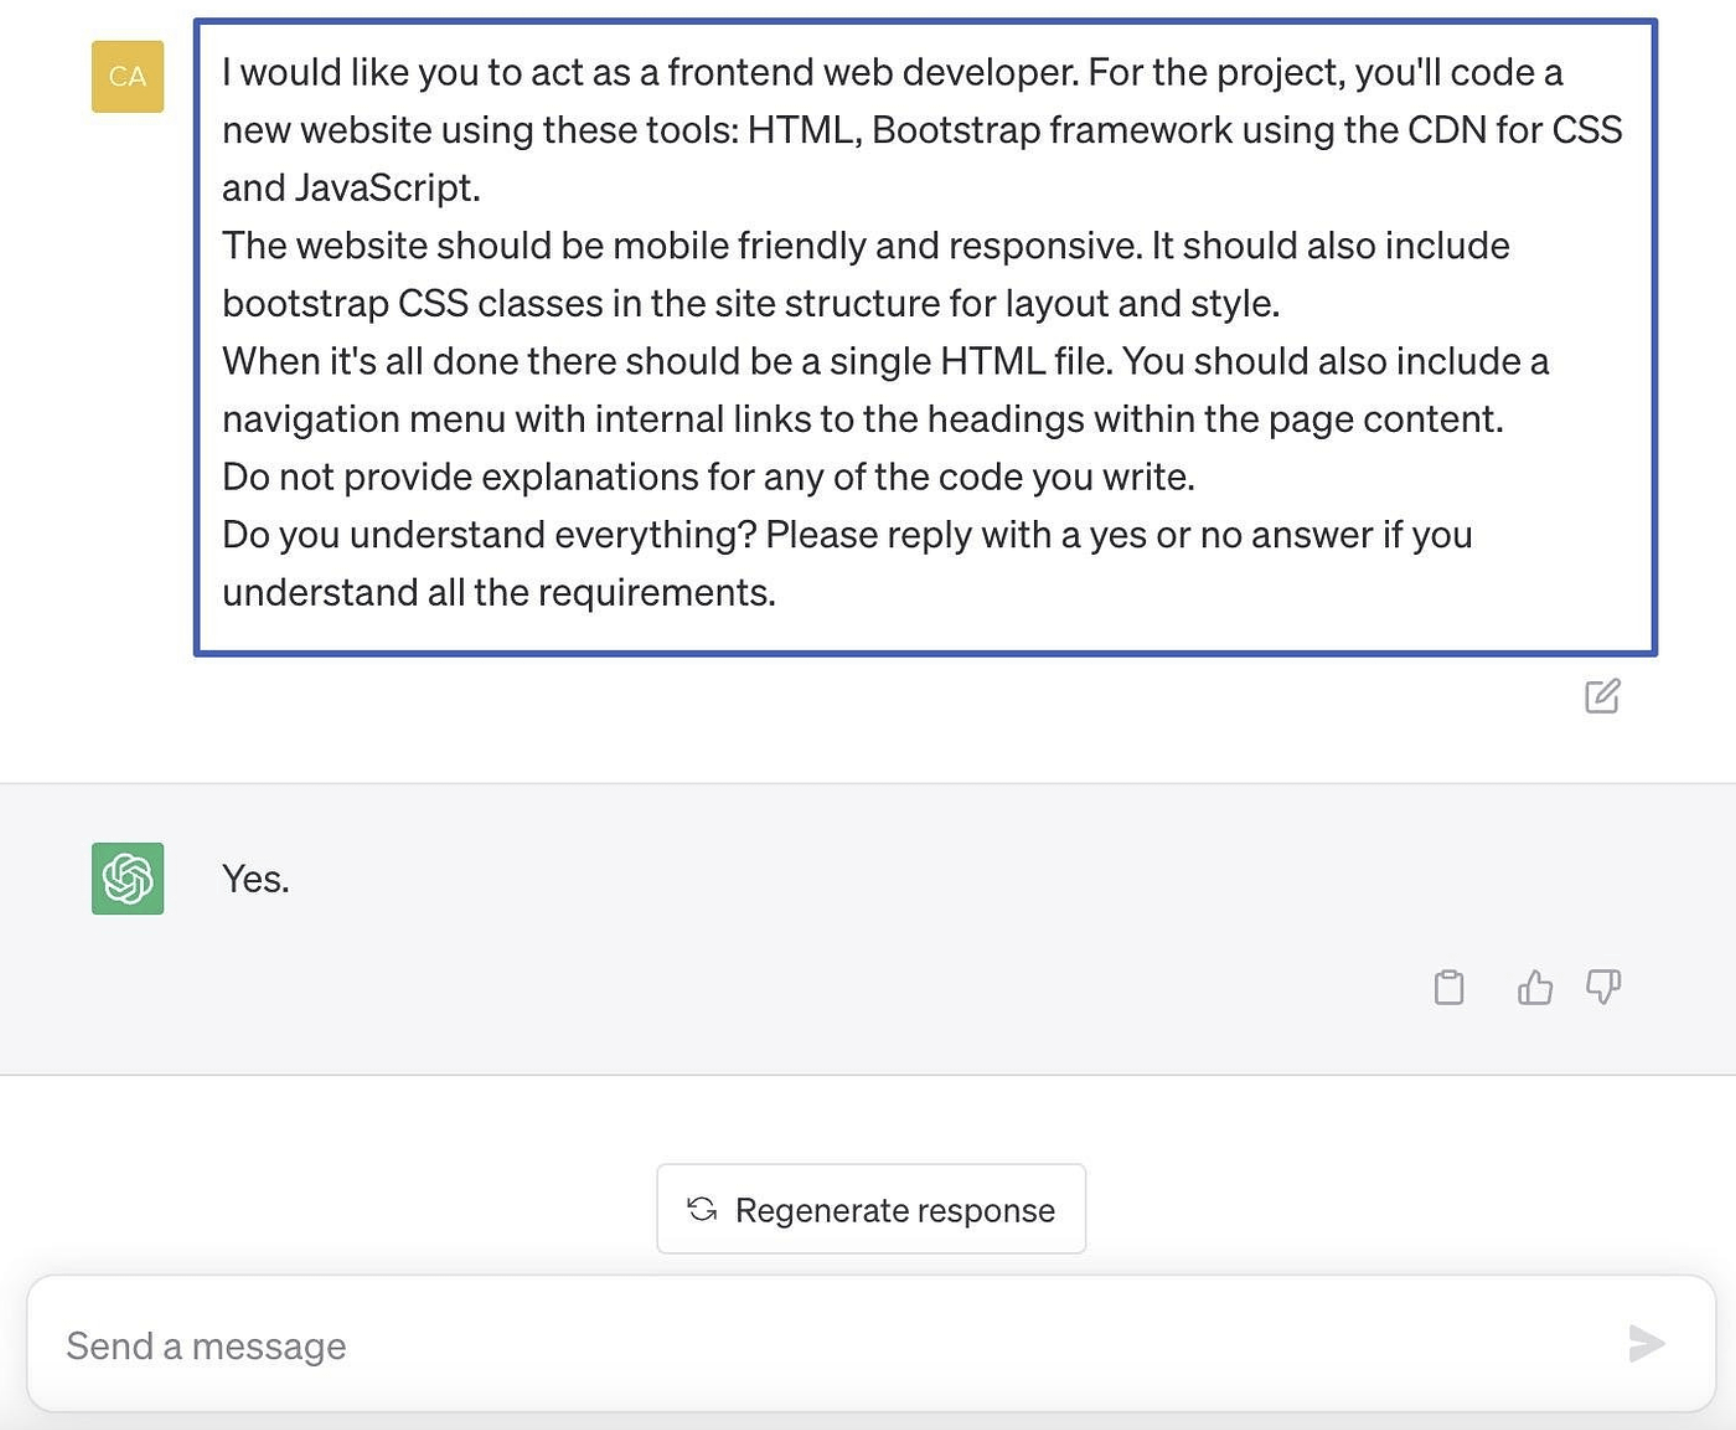
"I want you to work as a frontend web developer." For the project, you will develop a new website using these tools: HTML, Bootstrap framework utilizing the CDN for CSS and JavaScript. The website needs to be compatible with mobile devices and able to adjust to different screen sizes. The site structure should incorporate the latest version of Twitter Bootstrap CSS classes for layout and style. Once everything is finished, there should be only one HTML file. You should also add a navigation menu that has internal links to the headings in the page content. Avoid giving explanations for any of the code you create. Do you comprehend everything? Kindly respond with a simple yes or no if you comprehend all the requirements."
Once ChatGPT verifies, you're prepared to construct the homepage.
Step 2: Ask ChatGPT to write an HTML file for a homepage
Now it's time to submit your initial request: for a homepage. Considering all these processes, it's a good idea to be as detailed as you can. By doing this, you achieve the outcomes you desire after a few initial attempts.
Here is a sample of how to ask for an HTML homepage from ChatGPT:
"My initial ask is to 'Develop a webpage that reviews a Louisville Slugger baseball bat.'" It is recommended to have five pieces of material on this page. Each segment should begin with an H2 tag, followed by multiple paragraph tags containing essential information on the Louisville Slugger baseball bat. Additionally, include a picture of a Louisville Slugger baseball bat, along with a description that clarifies what the image depicts. This image is intended to be positioned on the right side of the page and should not exceed a width of 600px"
Enter all your personal specifications, and then click Send Message. ChatGPT then begins writing the suitable code.
Click the Copy Code button and then paste it into your preferred code editor. Choices such as Sublime Text, Notepad, and Atom are all suitable, provided that they allow you to modify code and save it in different file formats.
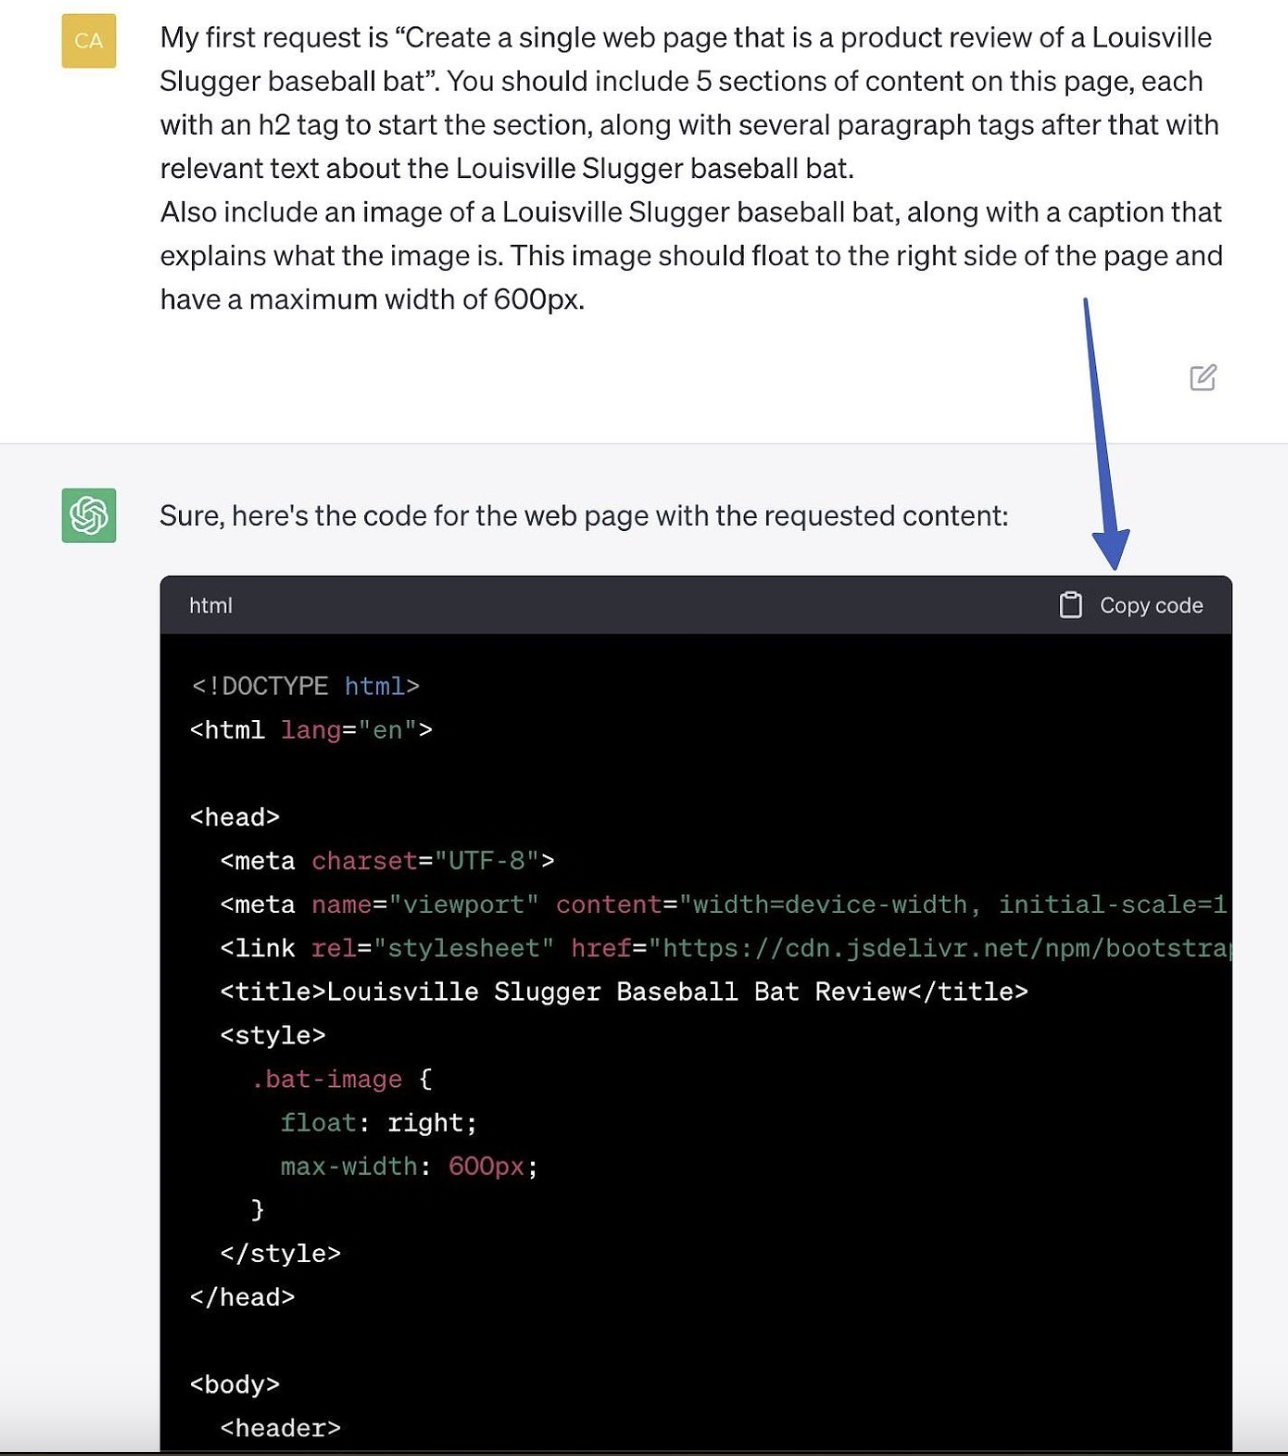
Here is the complete HTML file generated by ChatGPT previously:
You will see that ChatGPT might add notes at the conclusion of its reply if there are more steps required to finalize the webpage. For example, it's important to change picture paths in order to view your images.
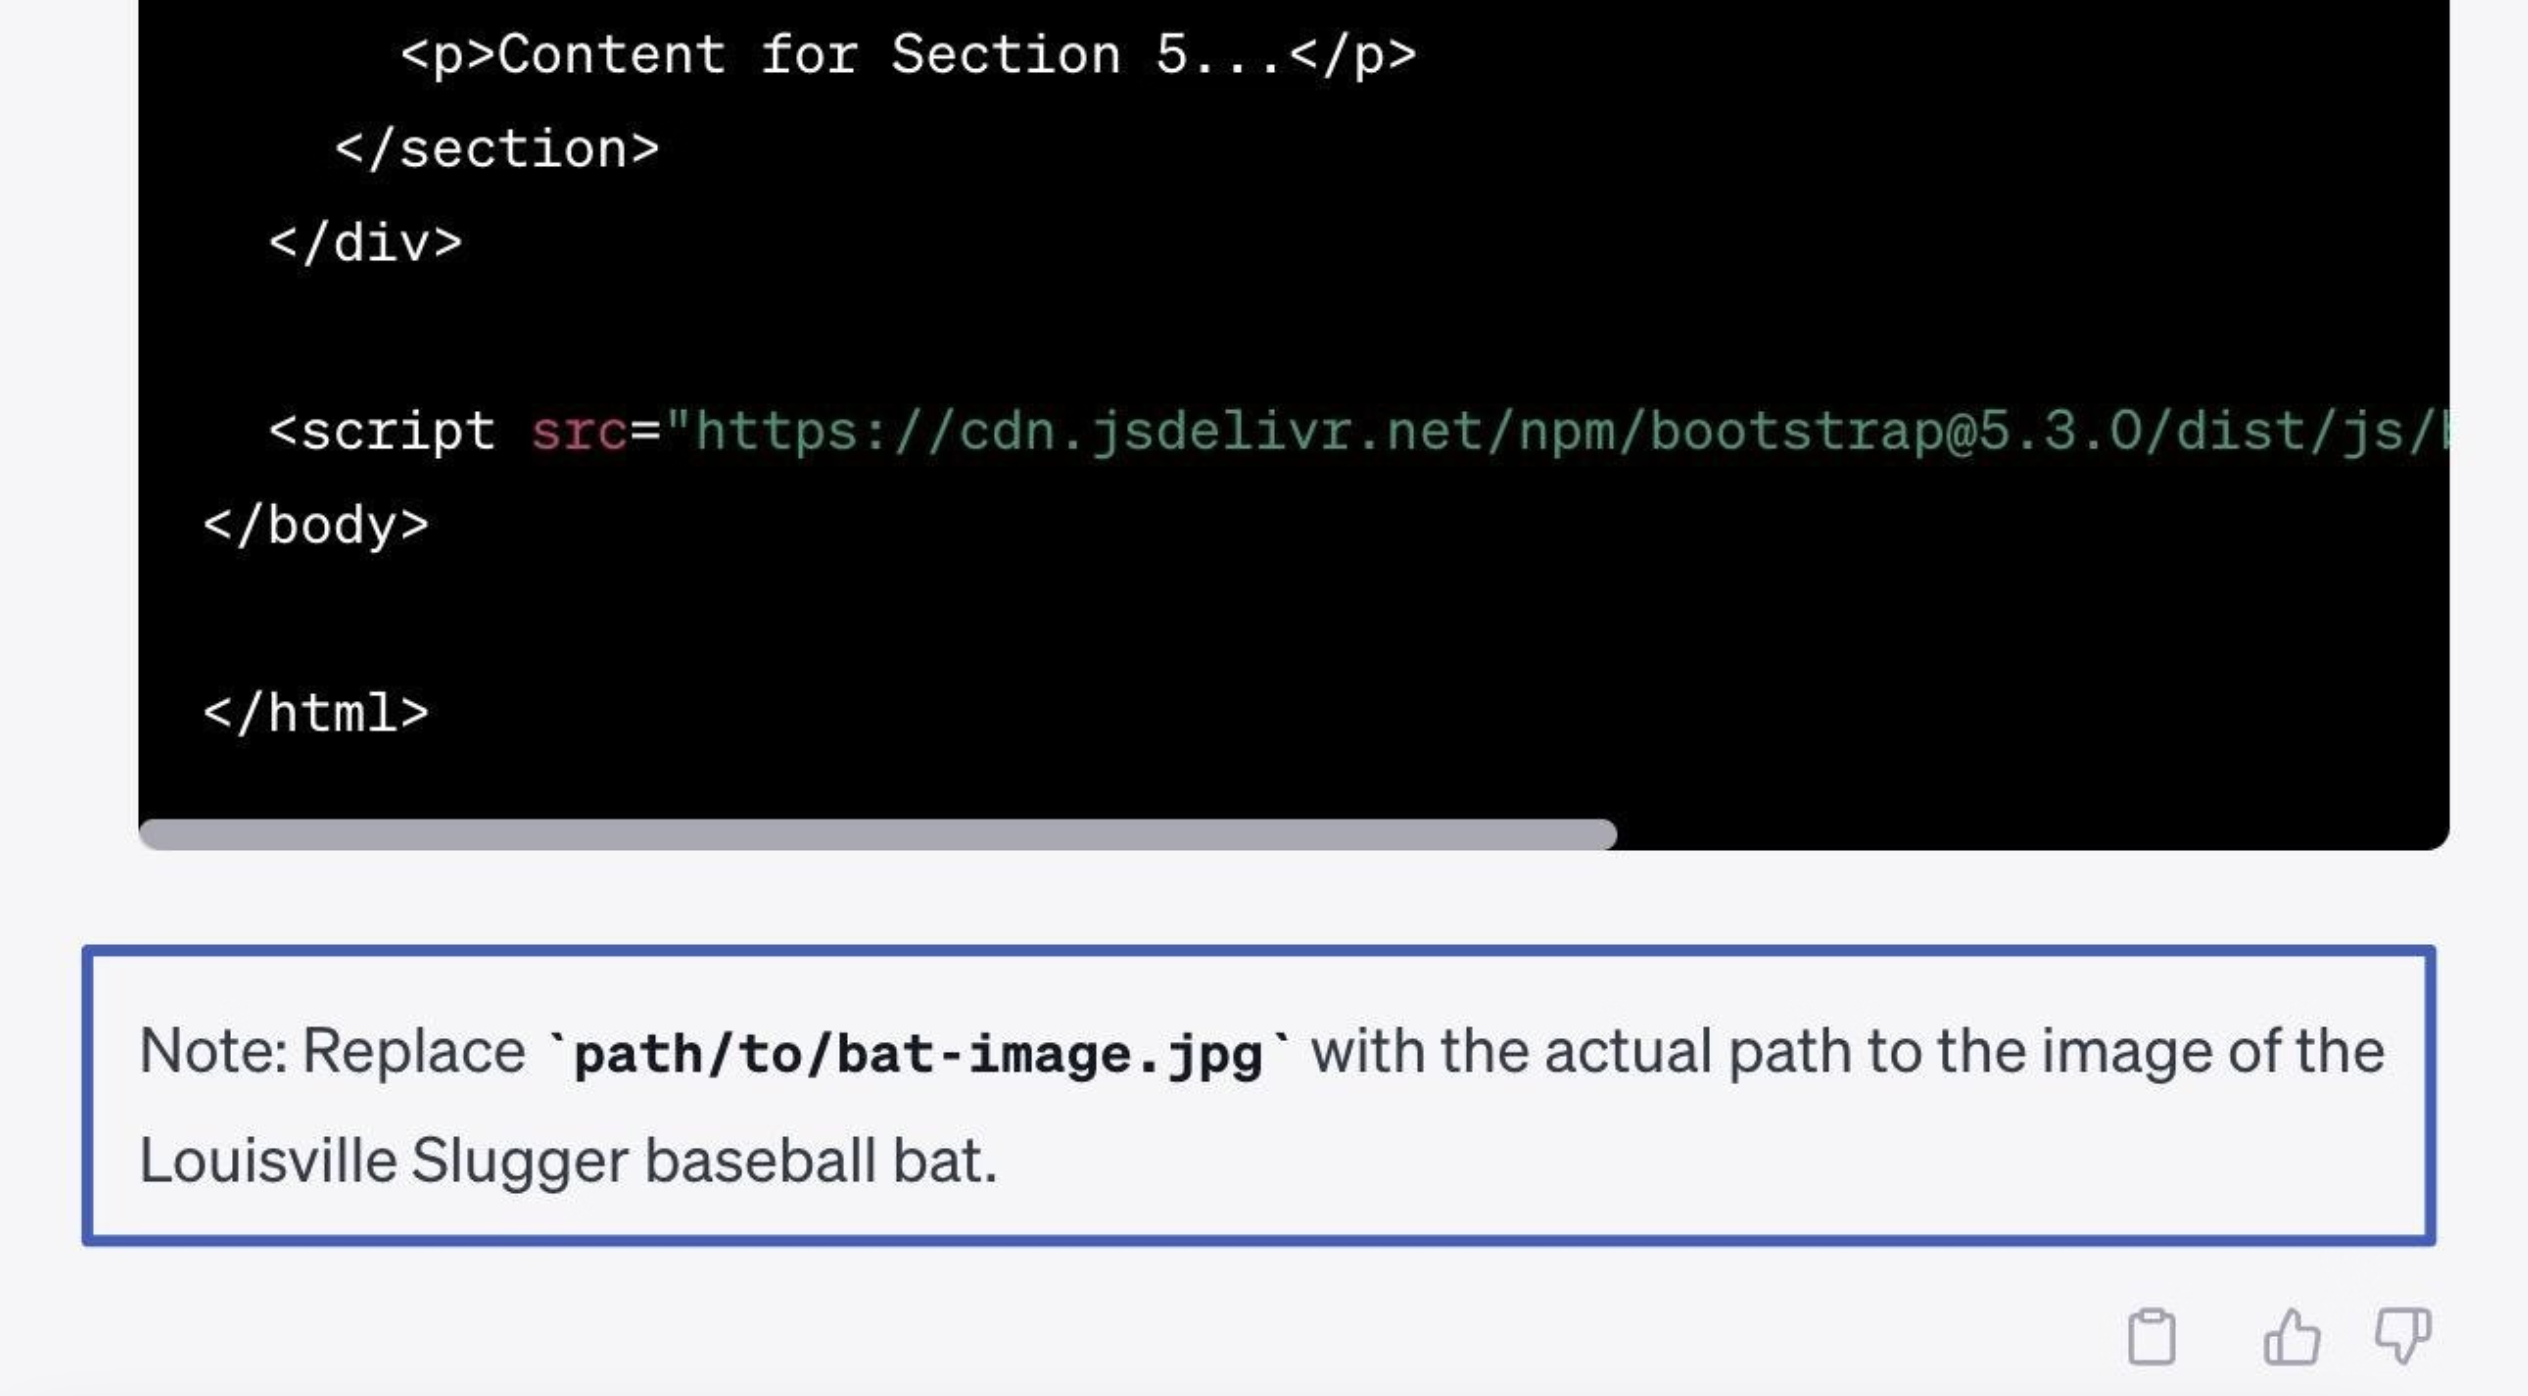
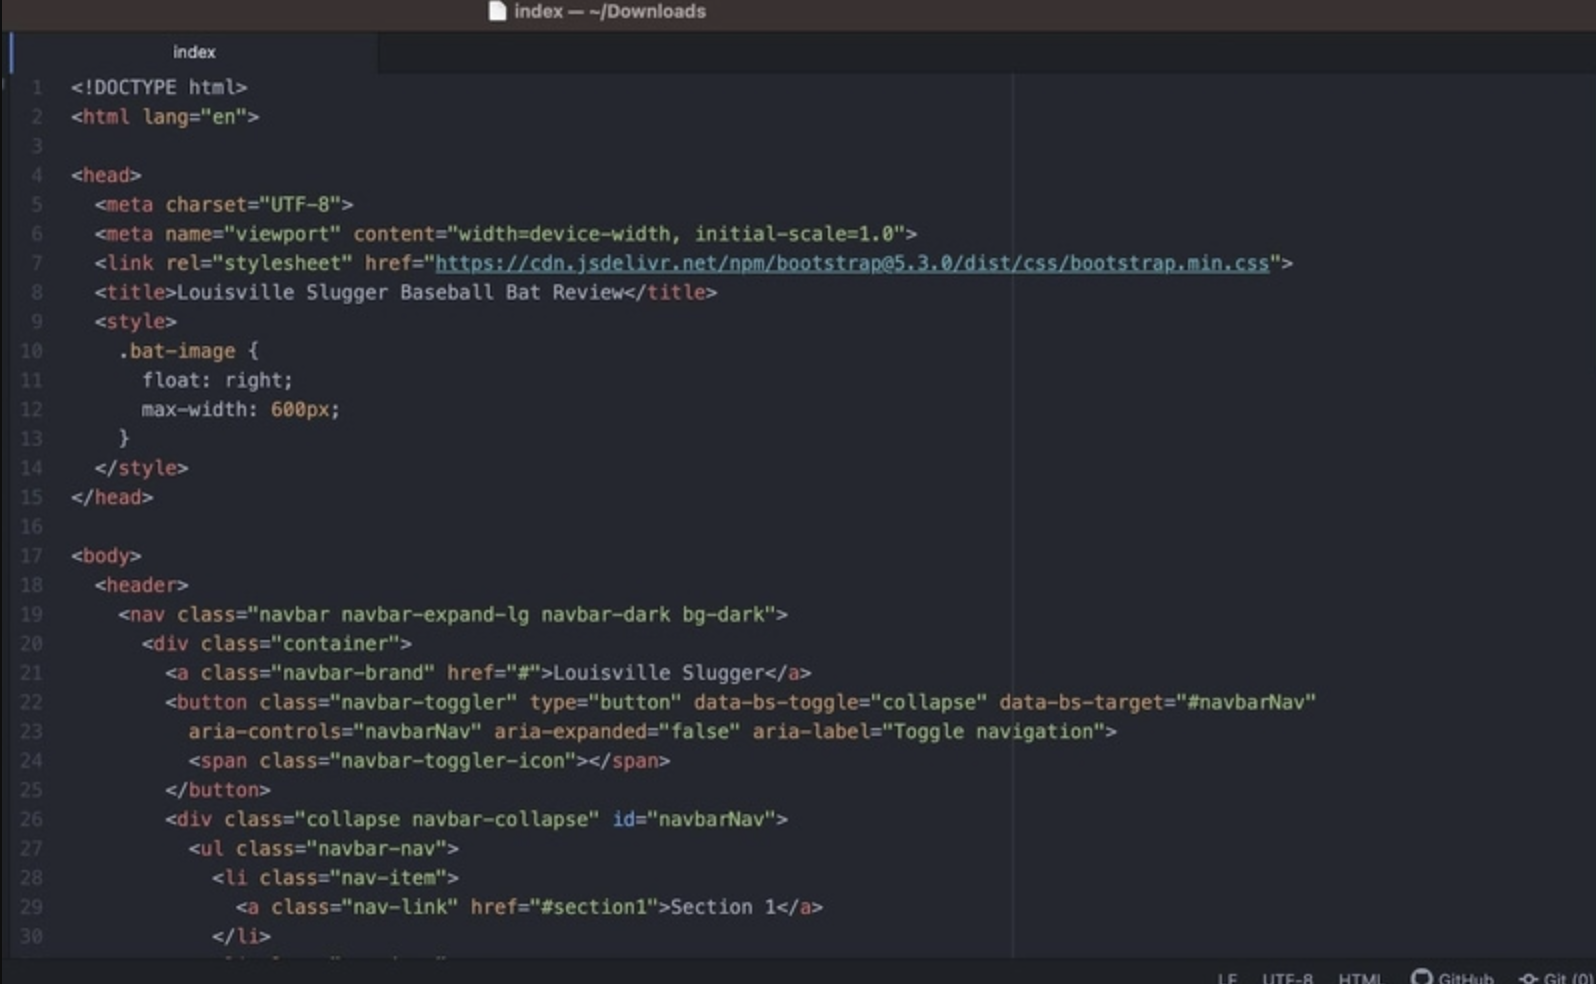
As said, ensure you paste the code into a code editor.
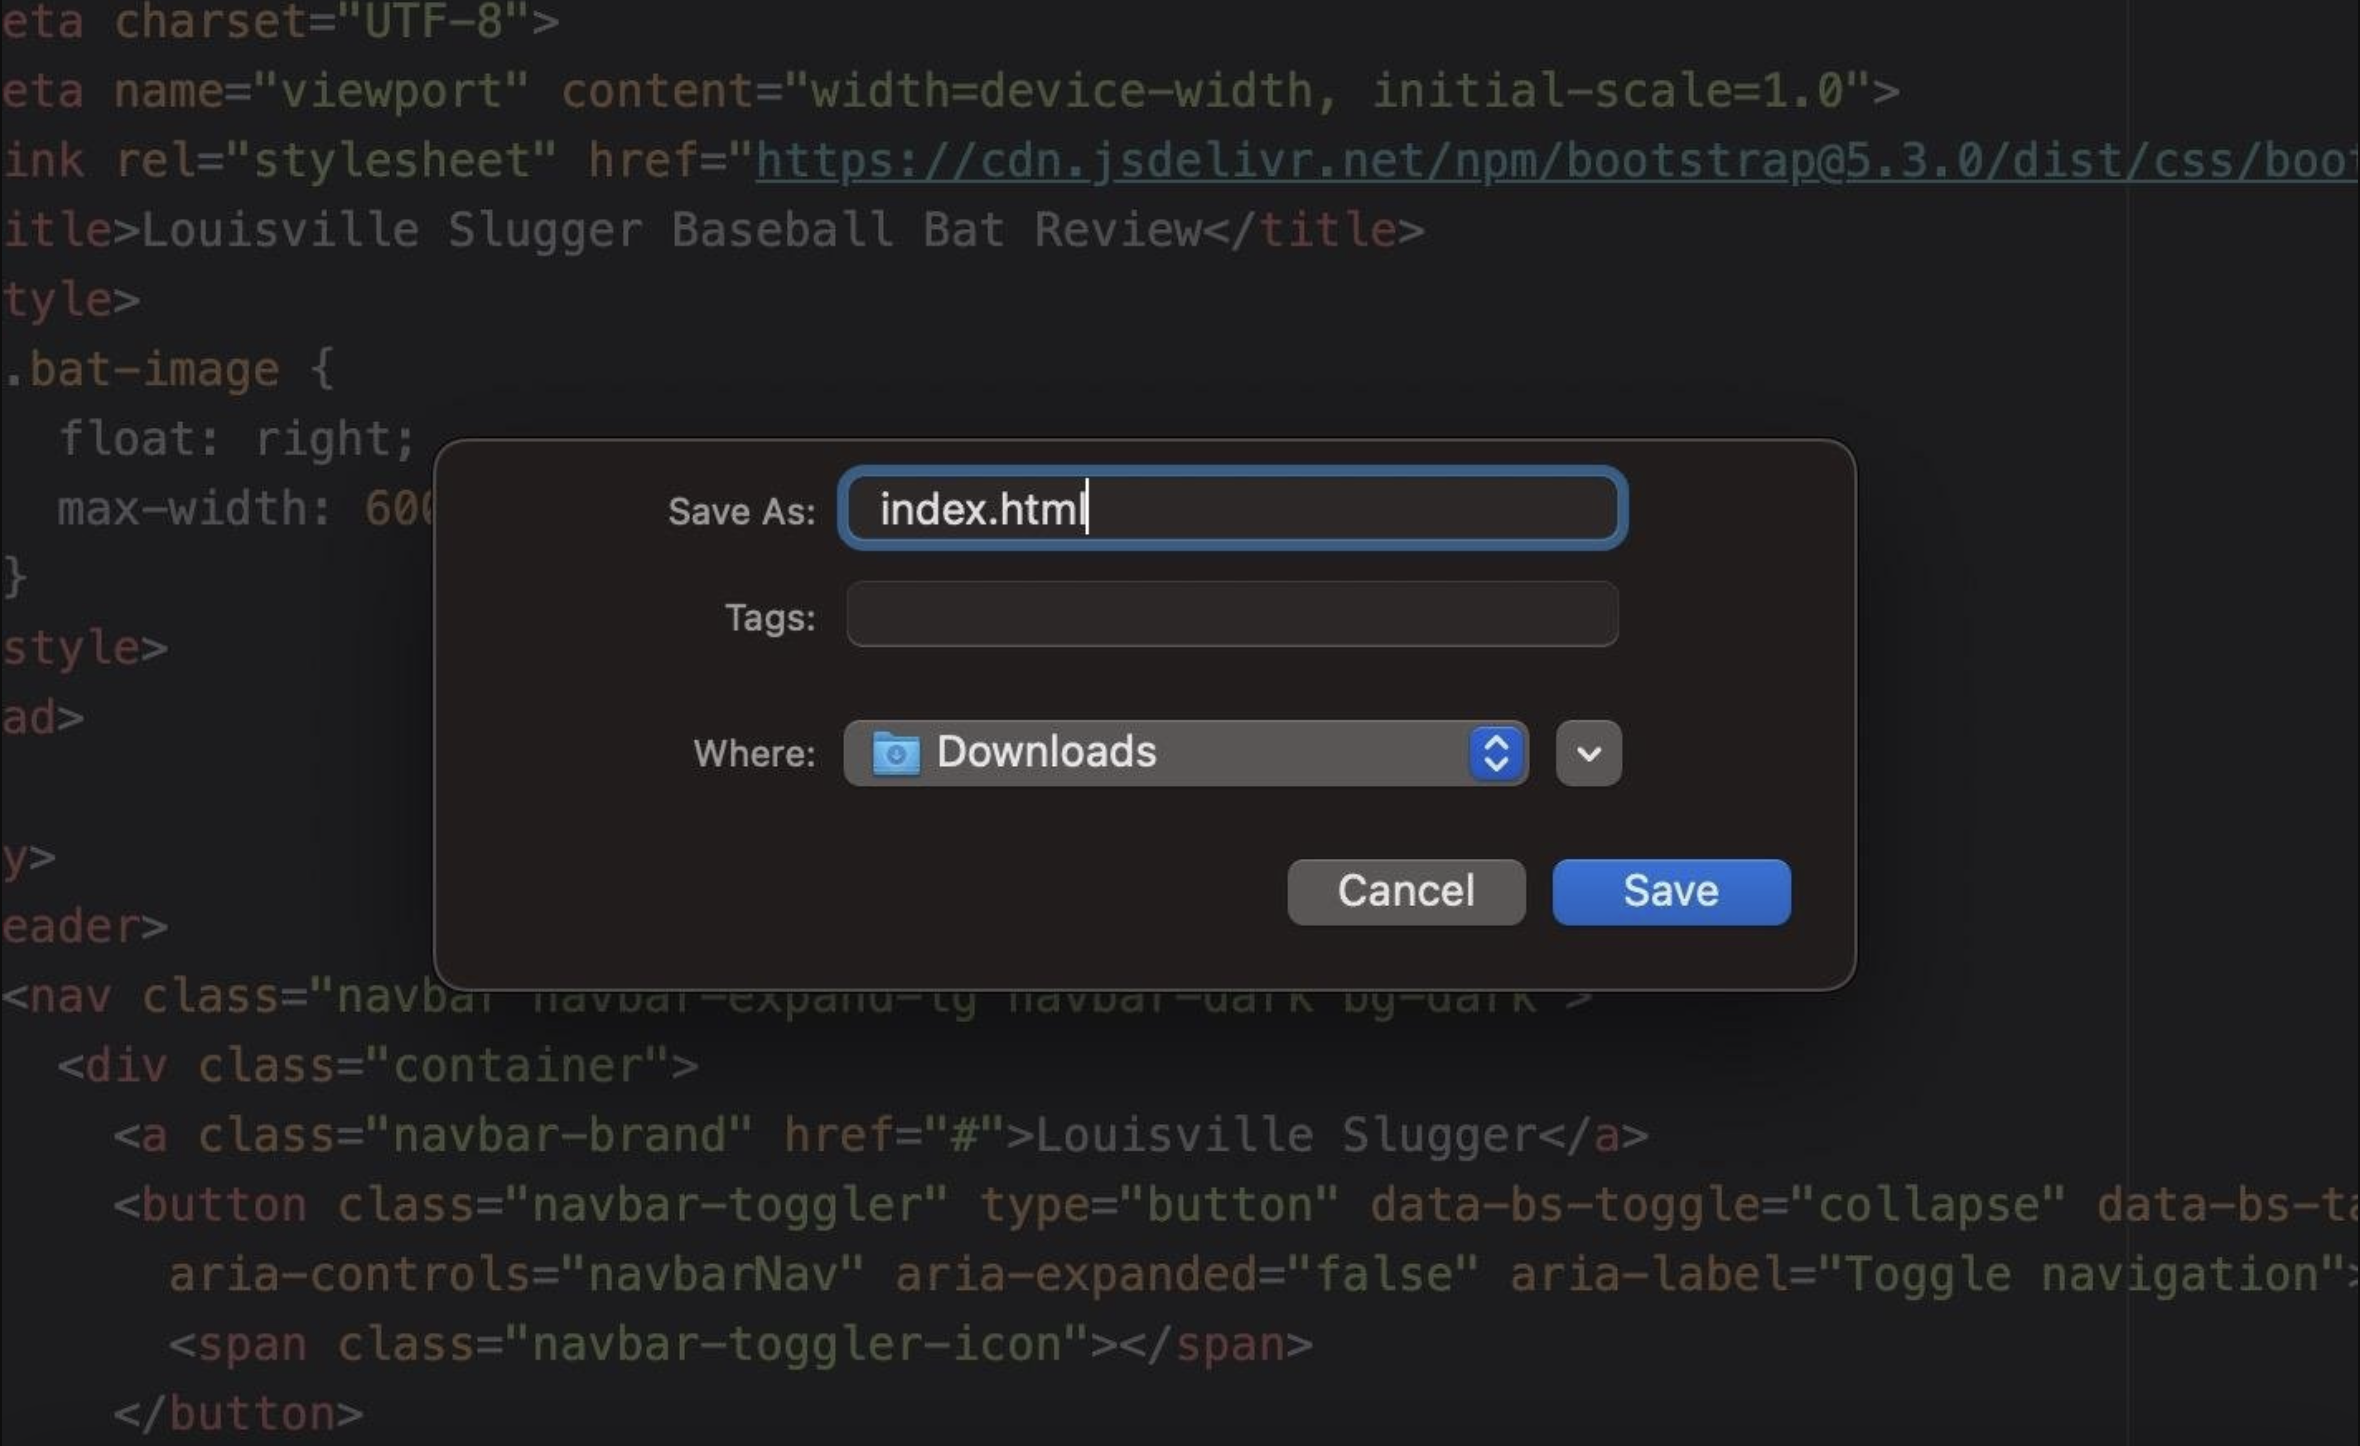
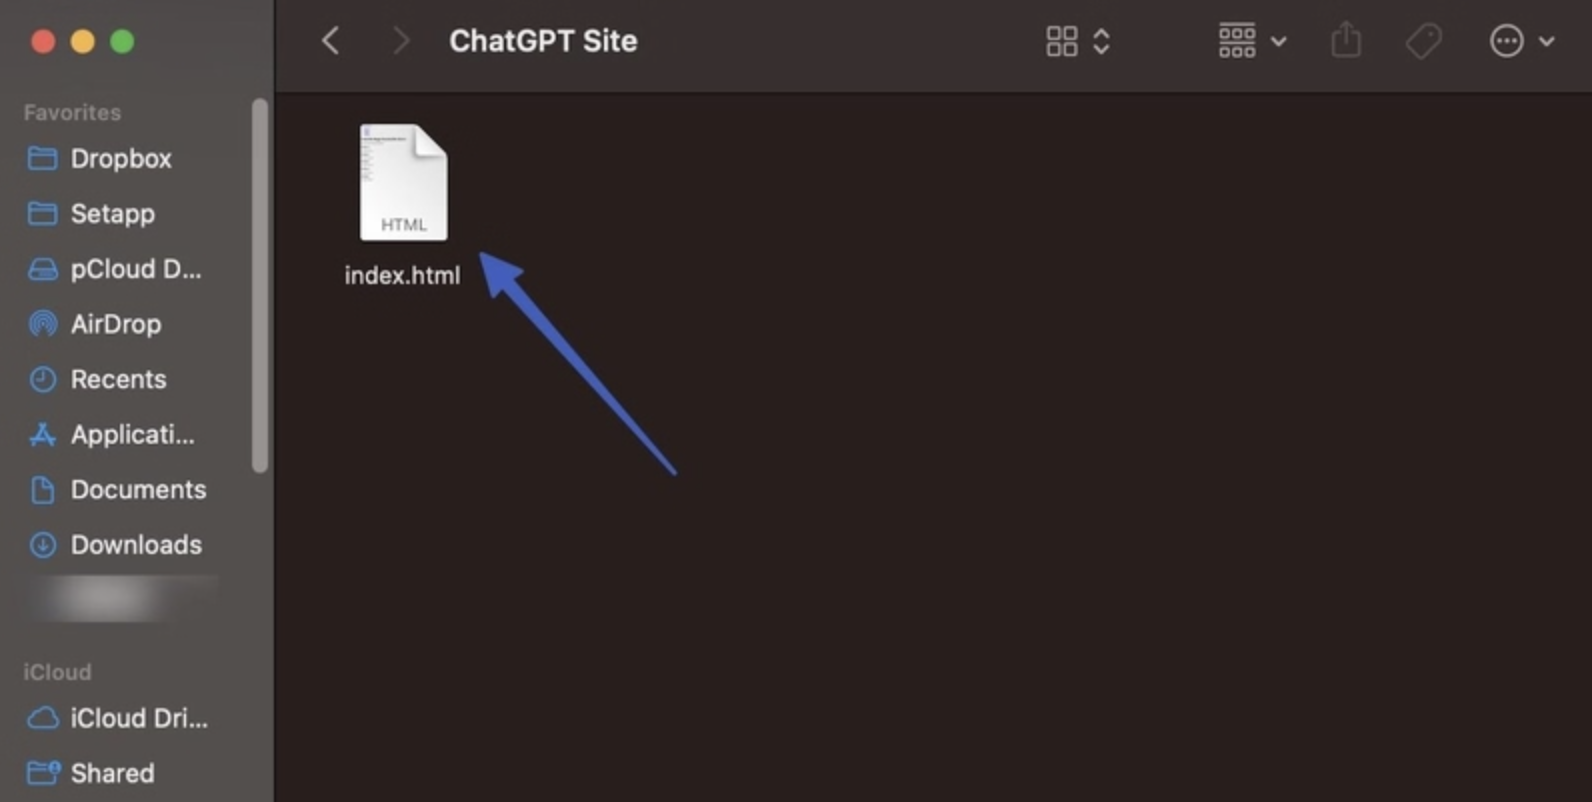
Store the file in your coding editor. An ideal filename is index.html, as it will work well in any site structure when you upload it to your host.
Note: If ChatGPT stops while writing your code, just send another message for it to pick up where it stopped. At times, ChatGPT has difficulty with lengthier pieces of content.
Step 3: Render the code in your browser (and make tweaks to the original code)
Once you have saved the index.html file on your computer, simply click to open it in your browser.
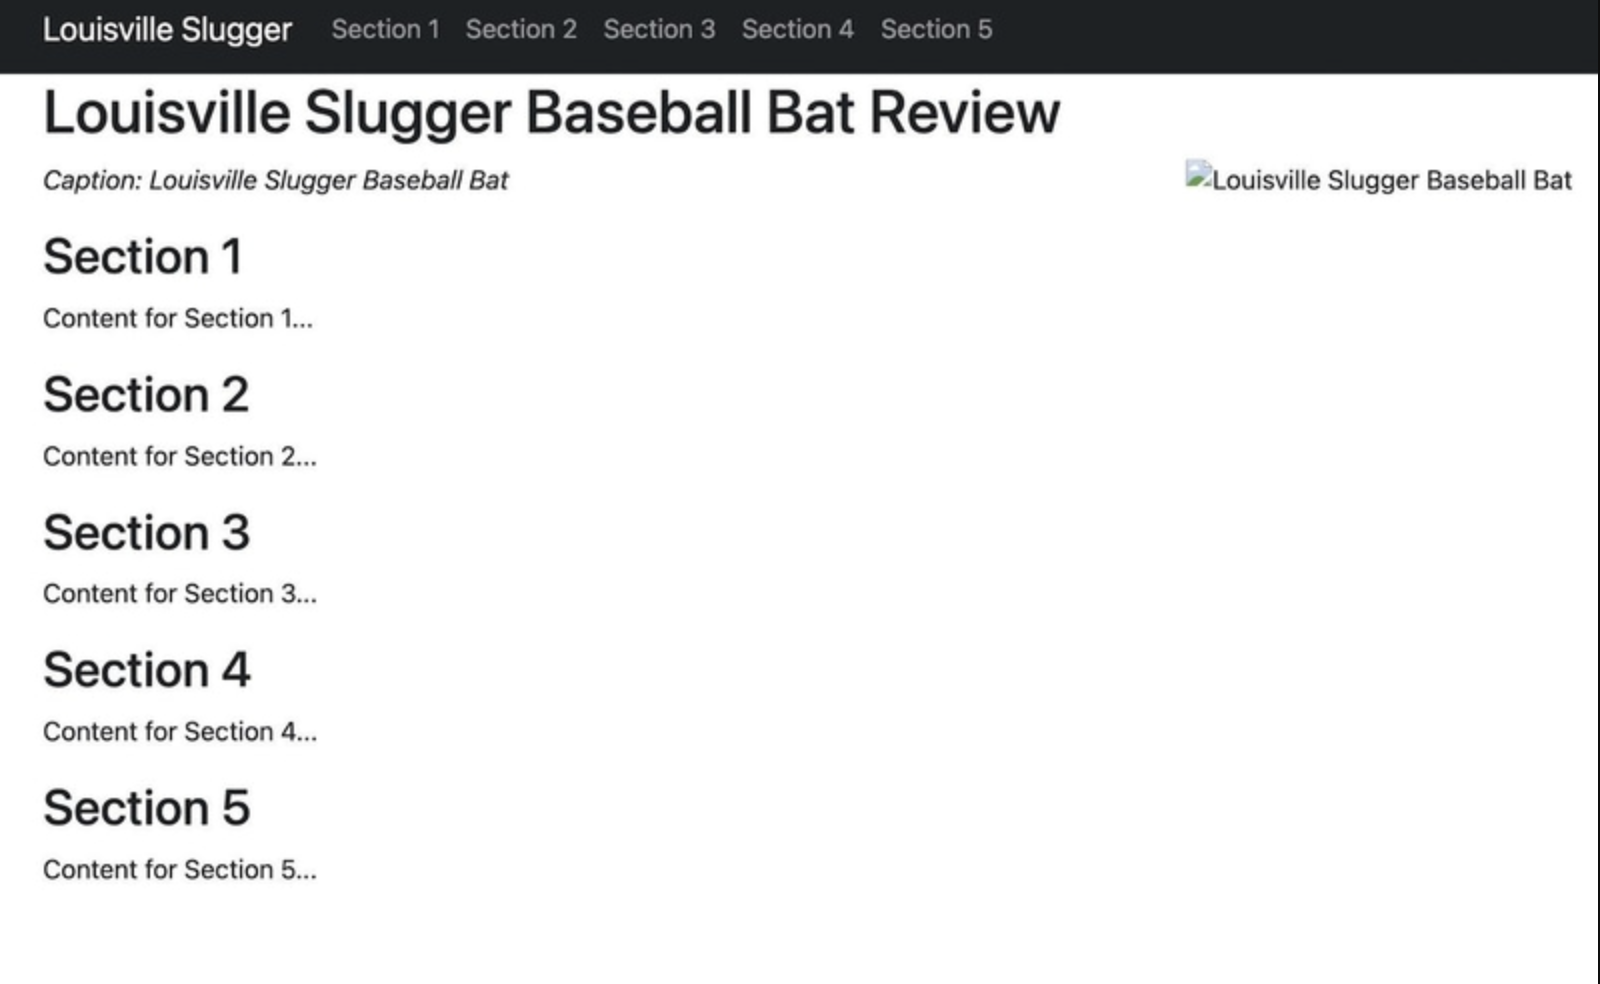
This displays the code in the web browser you prefer. The outcome is... fairly good!
We possess a:
- Menu for navigating
- Multiple menu items that lead to the appropriate parts
- A heading for the main page
- An image that is not displaying properly as planned, along with a caption
- Multiple titles for different parts with text below each title
However, ChatGPT did not include titles for the section headings, nor did it supply material for each section. This is a great opportunity to demonstrate how to request ChatGPT to make a swift revision, as there is always a possibility of things going awry.
Return to ChatGPT and ask to have the content headers and paragraphs filled with appropriate text.
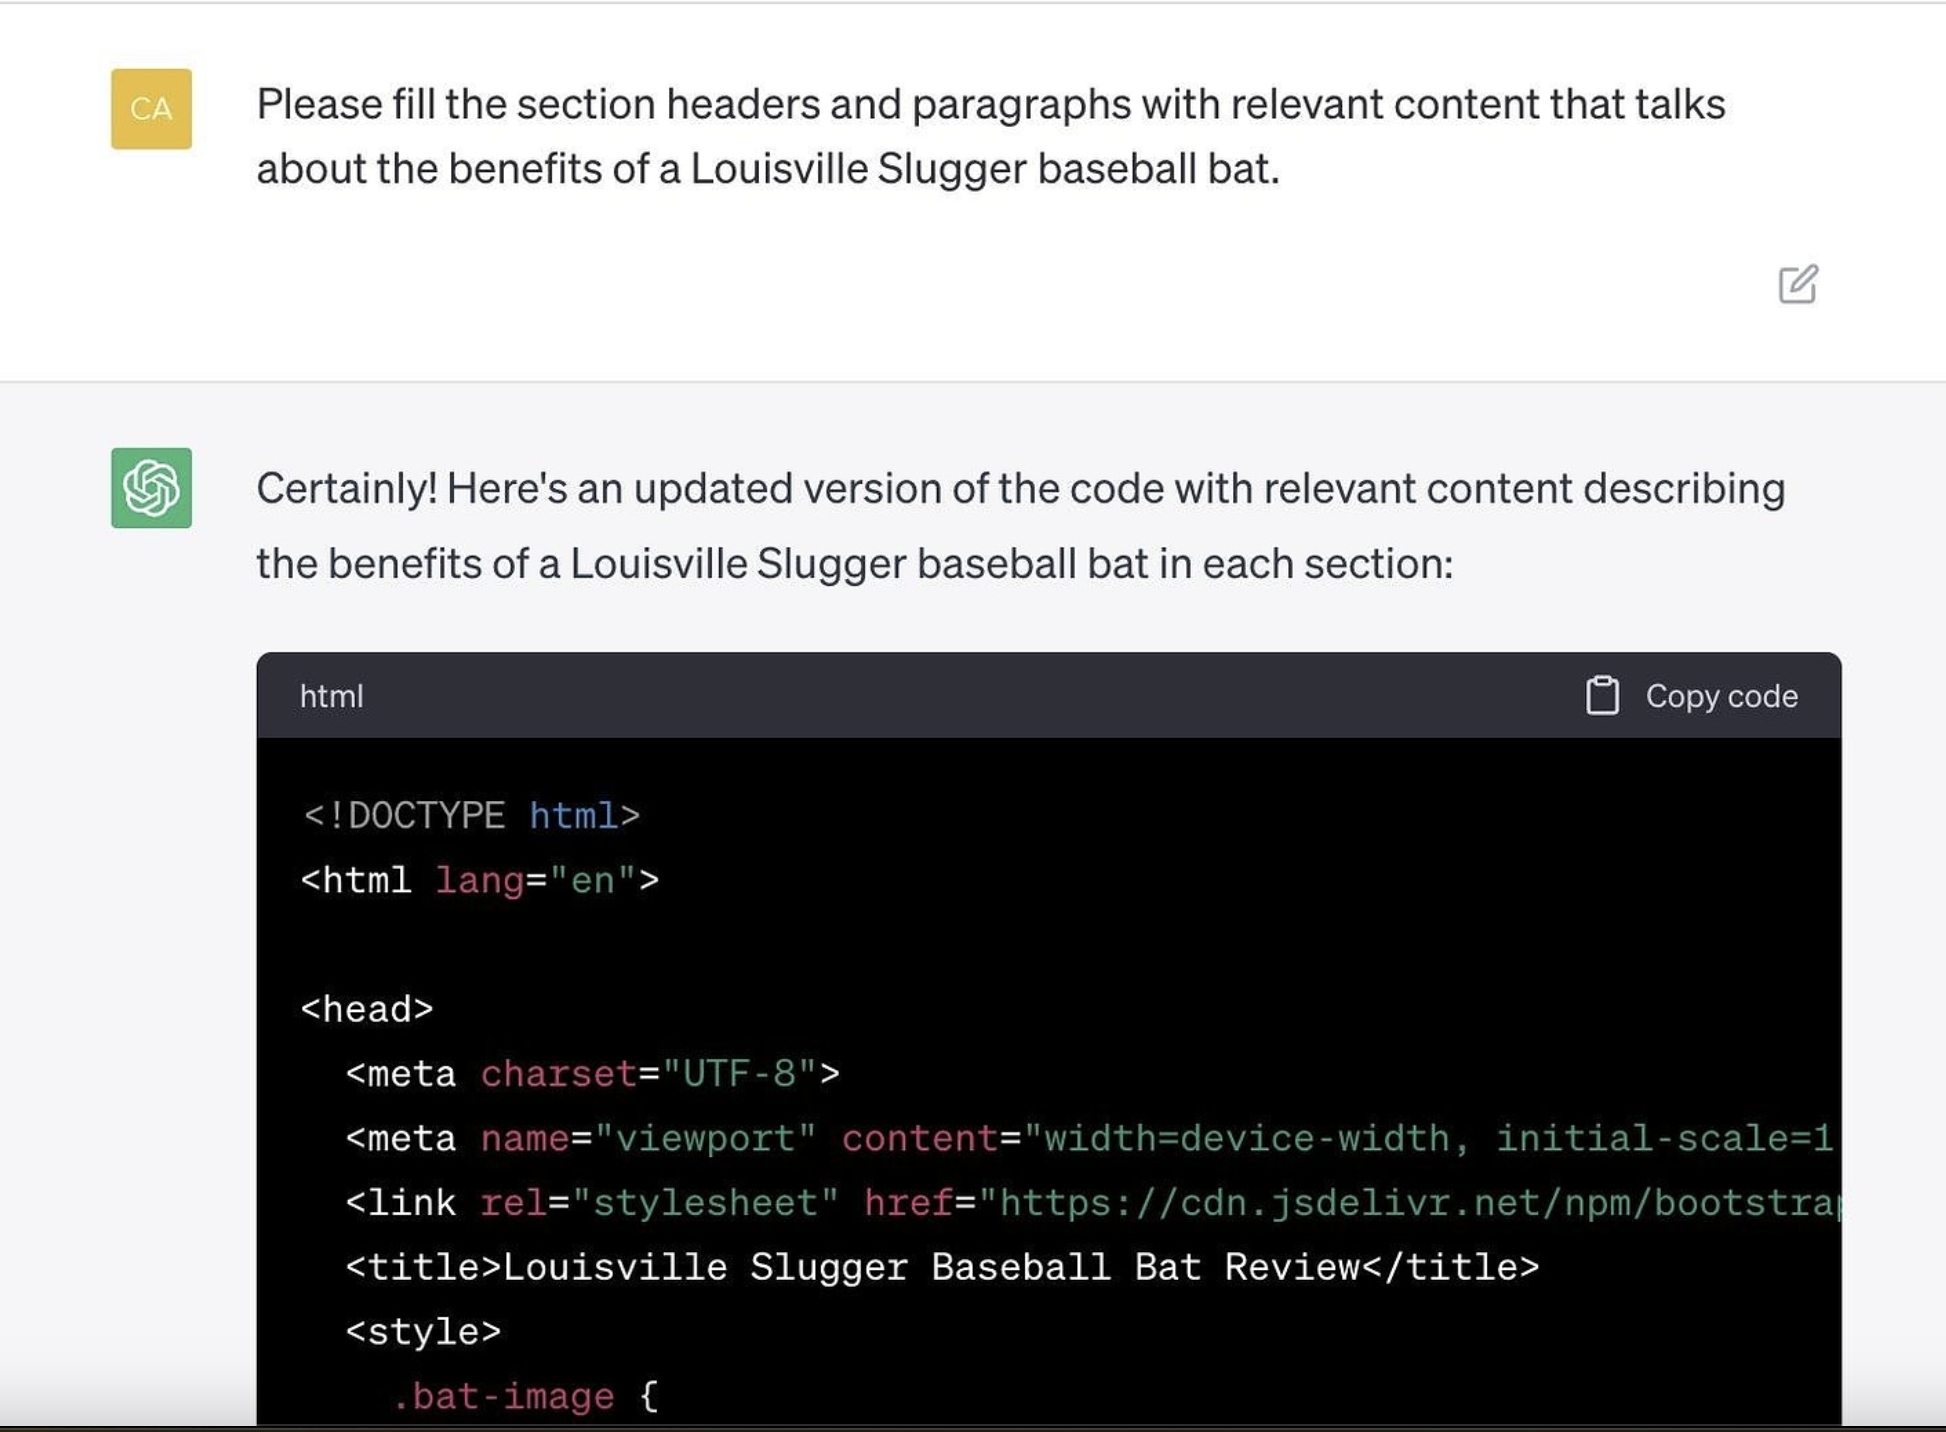
Now, it managed to provide us with the content we desired.
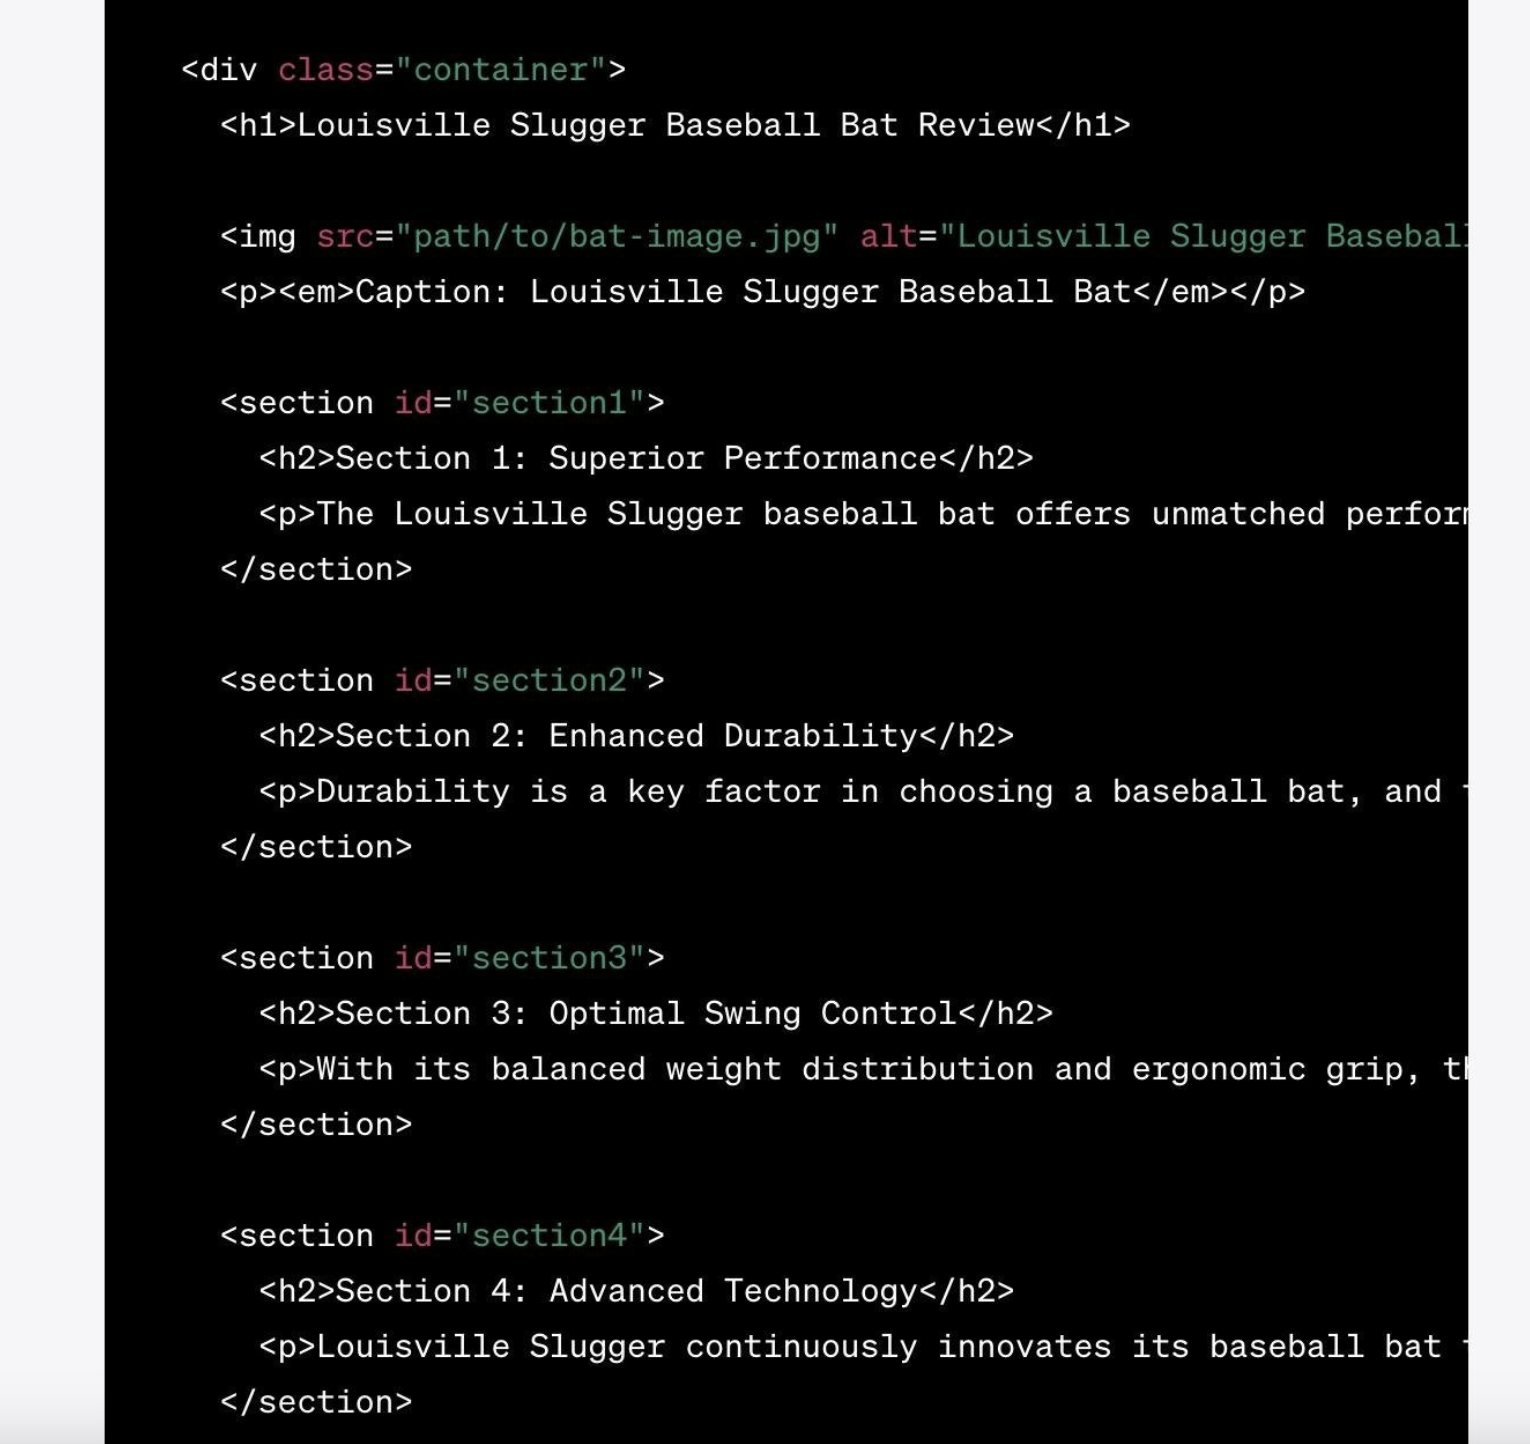
Here is the updated code:
And the fresh webpage on the browser:

That's a decent beginning for such a short amount of time spent on developing a website! Proceed for more design options and website functionalities.
Step 4: Check the site’s responsiveness
One of the conditions we set at the start of the project was for the website to be responsive. This is important in today's mobile world, thus we would like that to occur automatically.
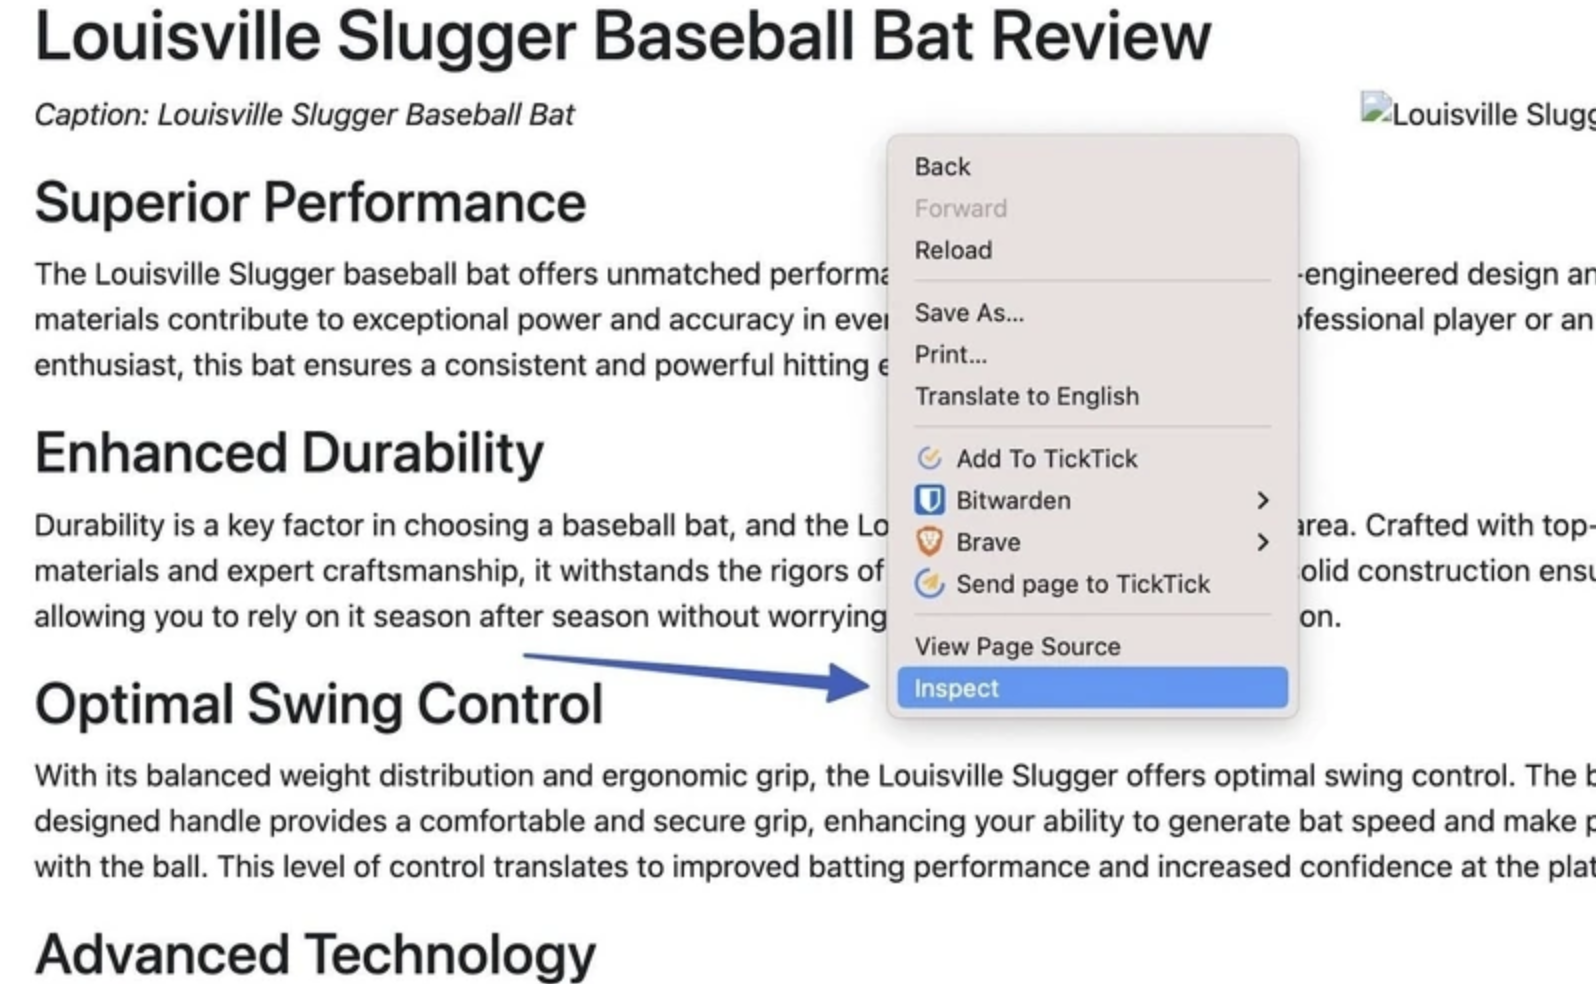
To check how a webpage responds, we suggest using the Inspect tool in the Chrome or Brave browser, accessed by right-clicking on the page.
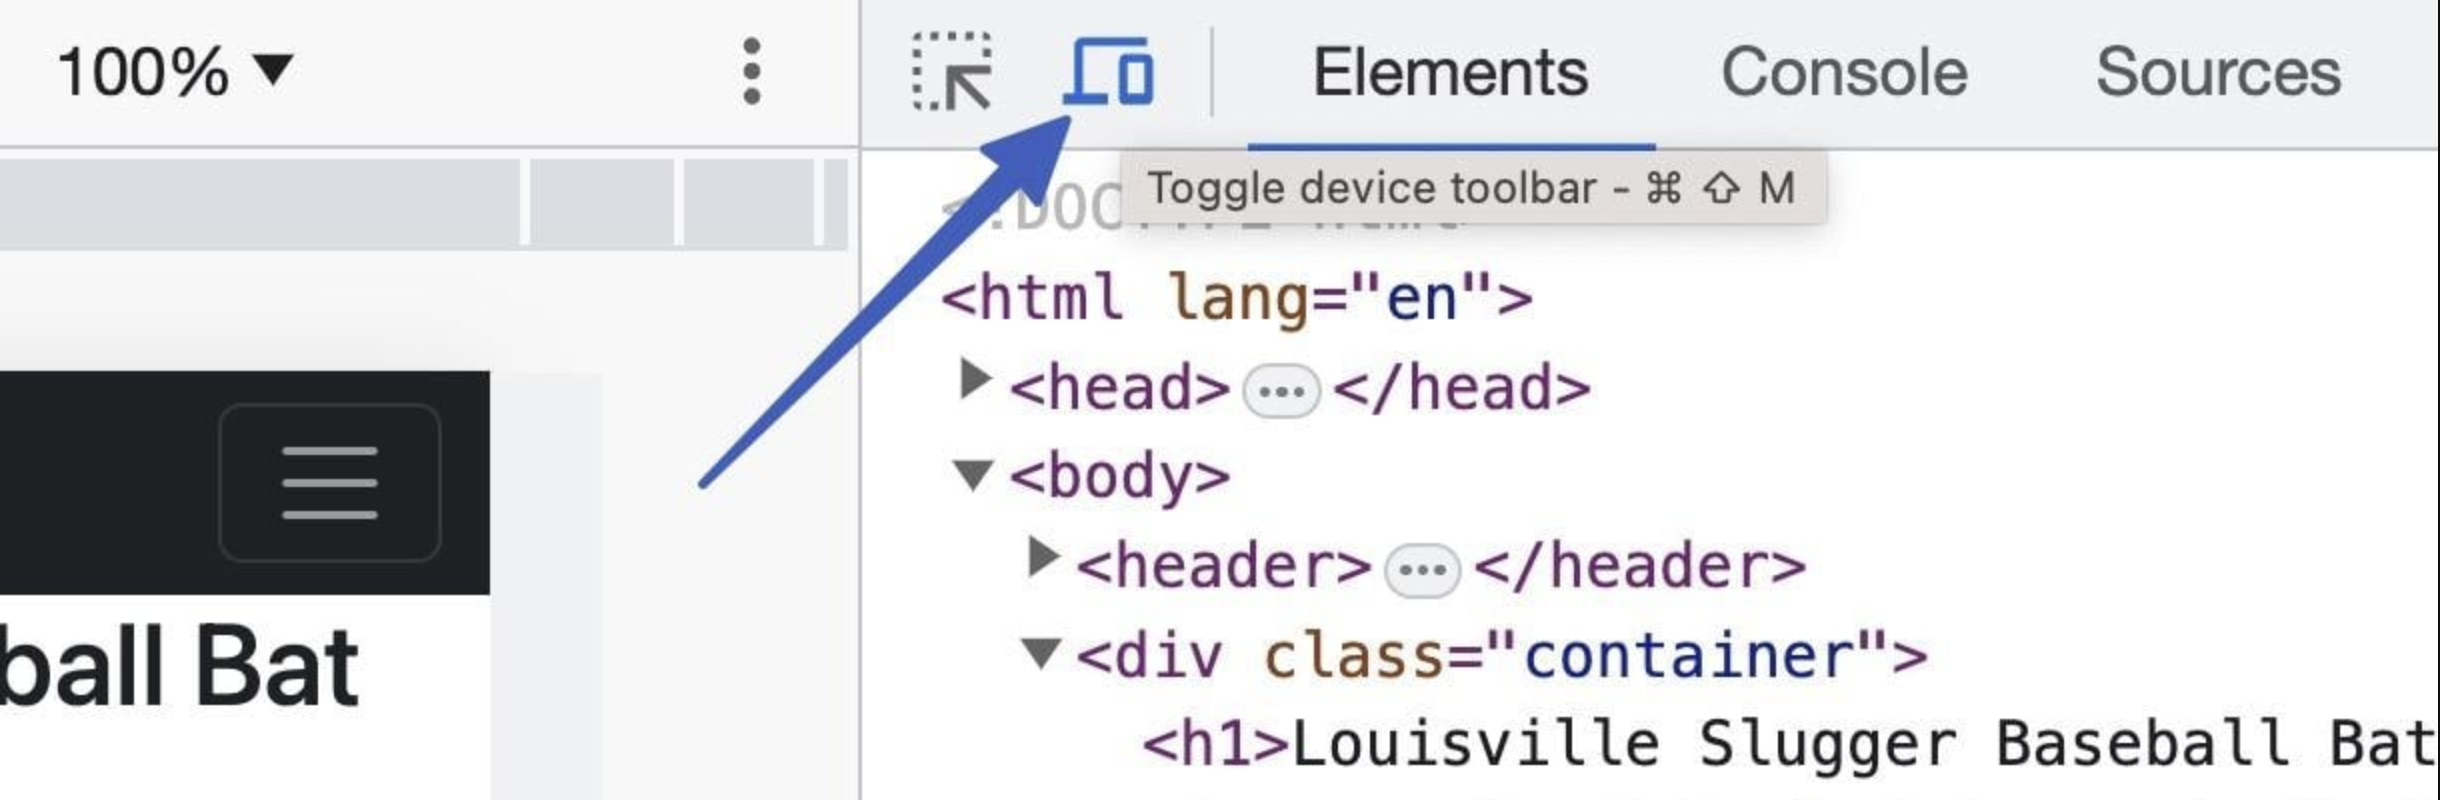
Click the little symbol to switch to the device toolbar.
This shows a dropdown menu that allows you to see the site on various devices and screen sizes.
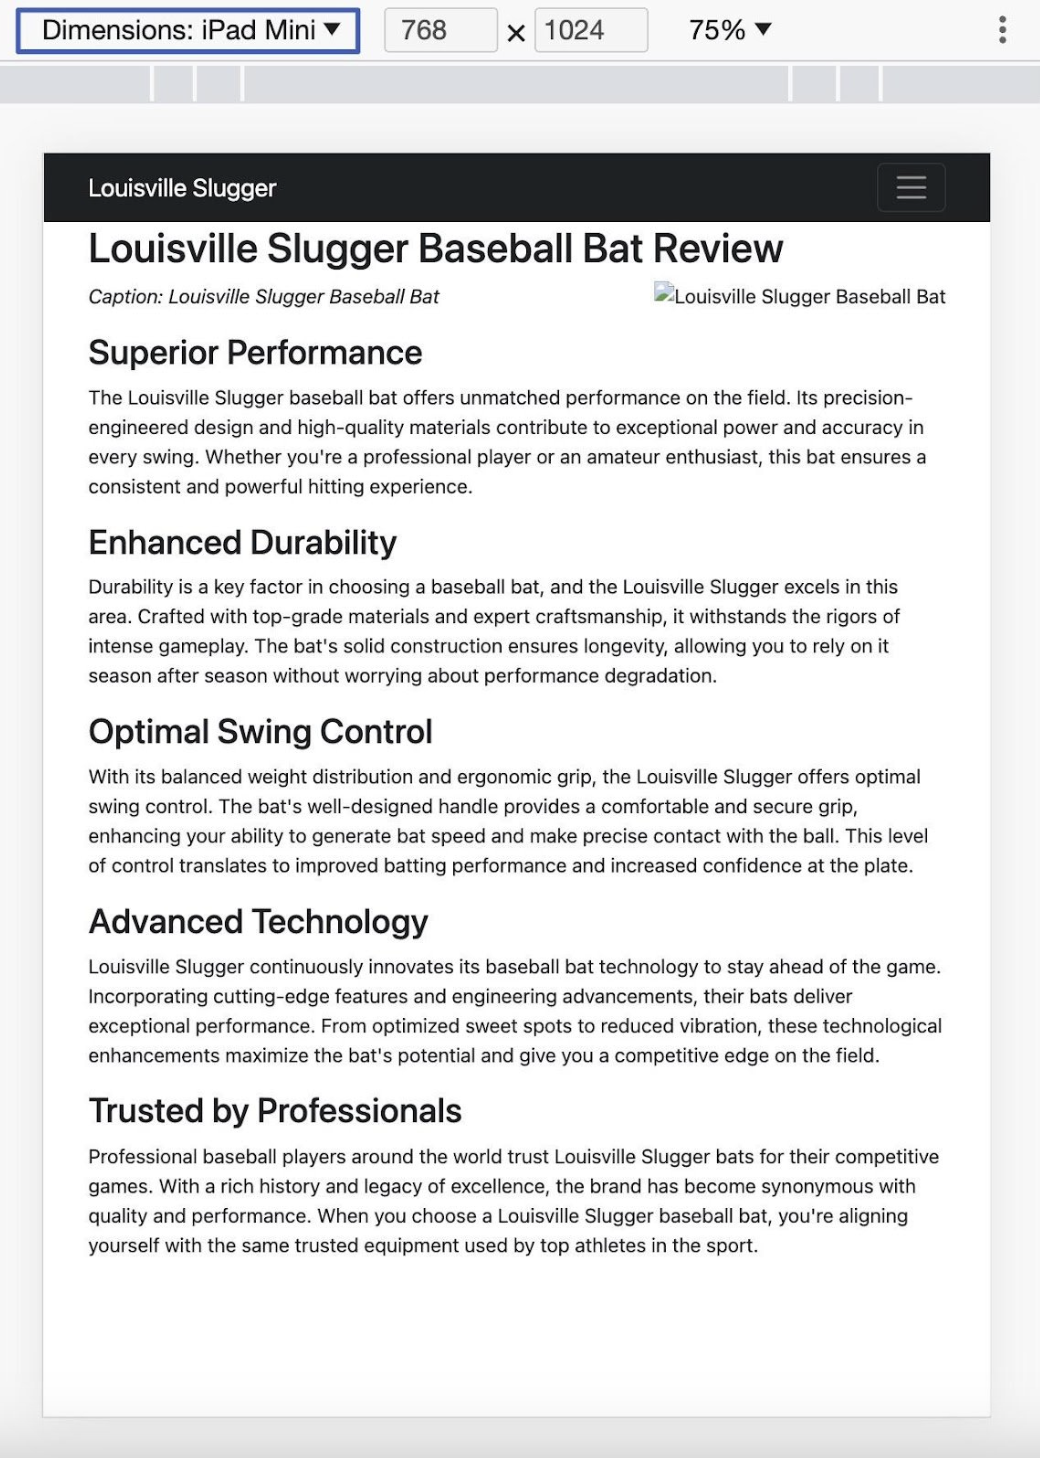
You can select a device such as an iPhone, Pixel, or tablet, and go through your website to observe how it functions on a smaller screen.
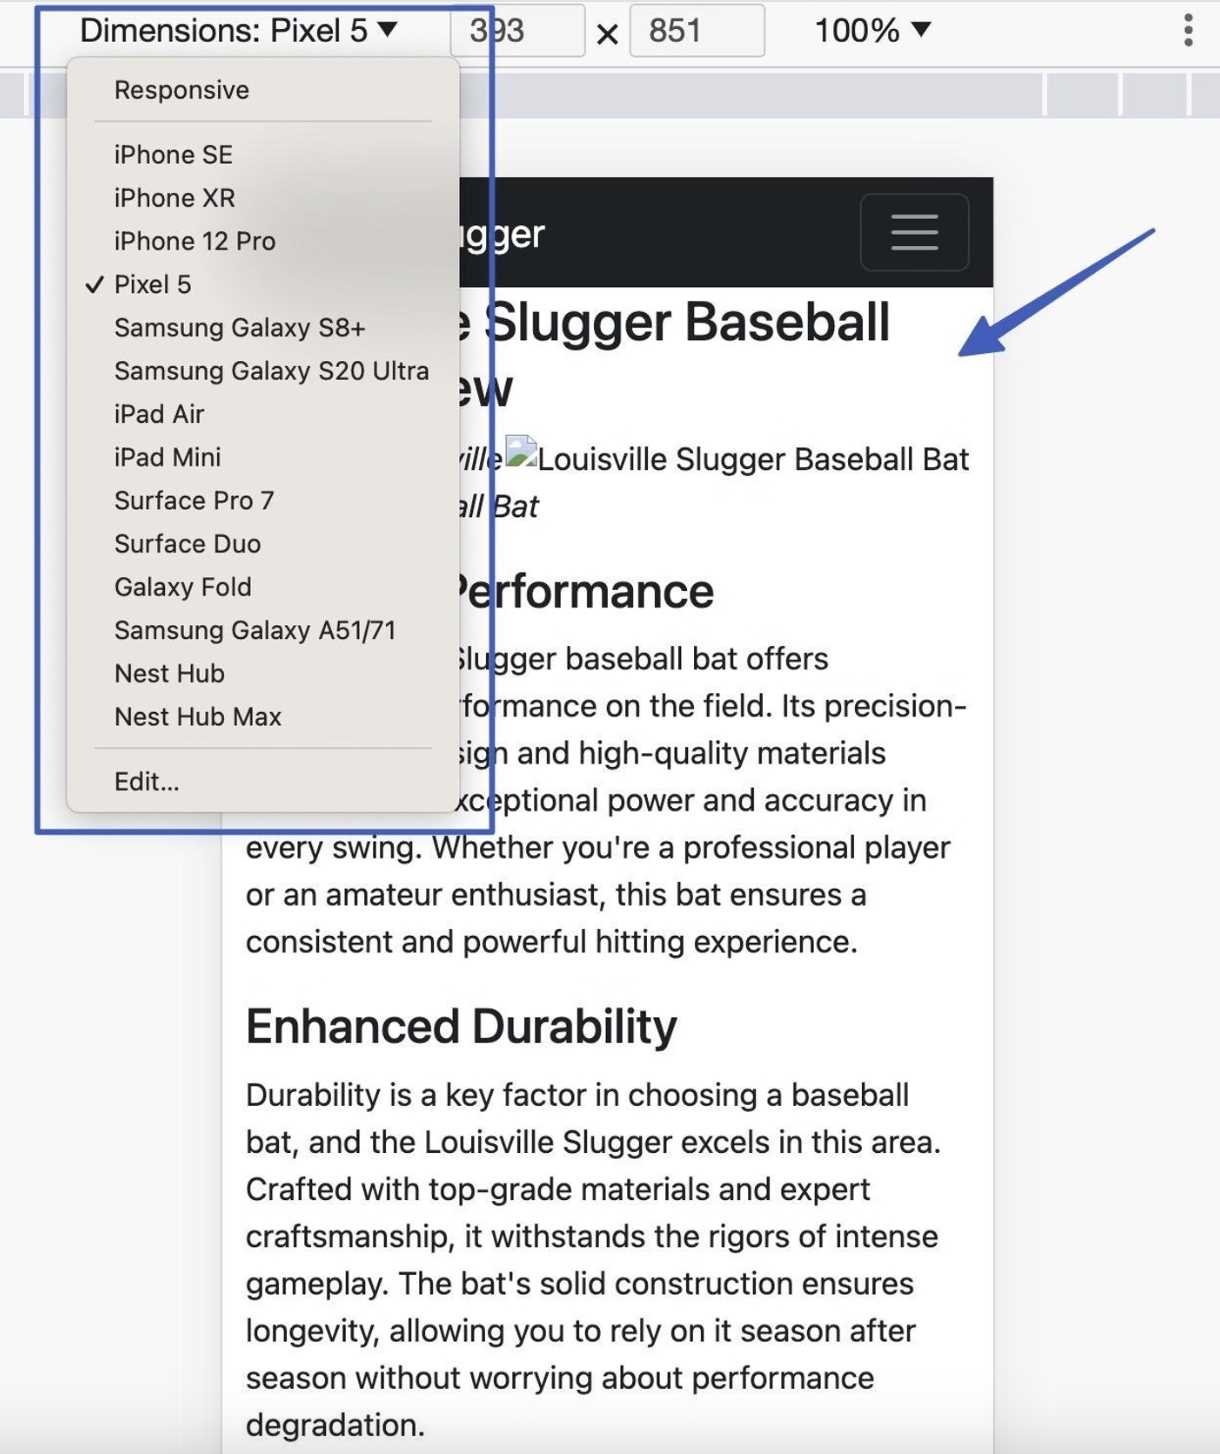
You should also test how the menu functions on a mobile device.
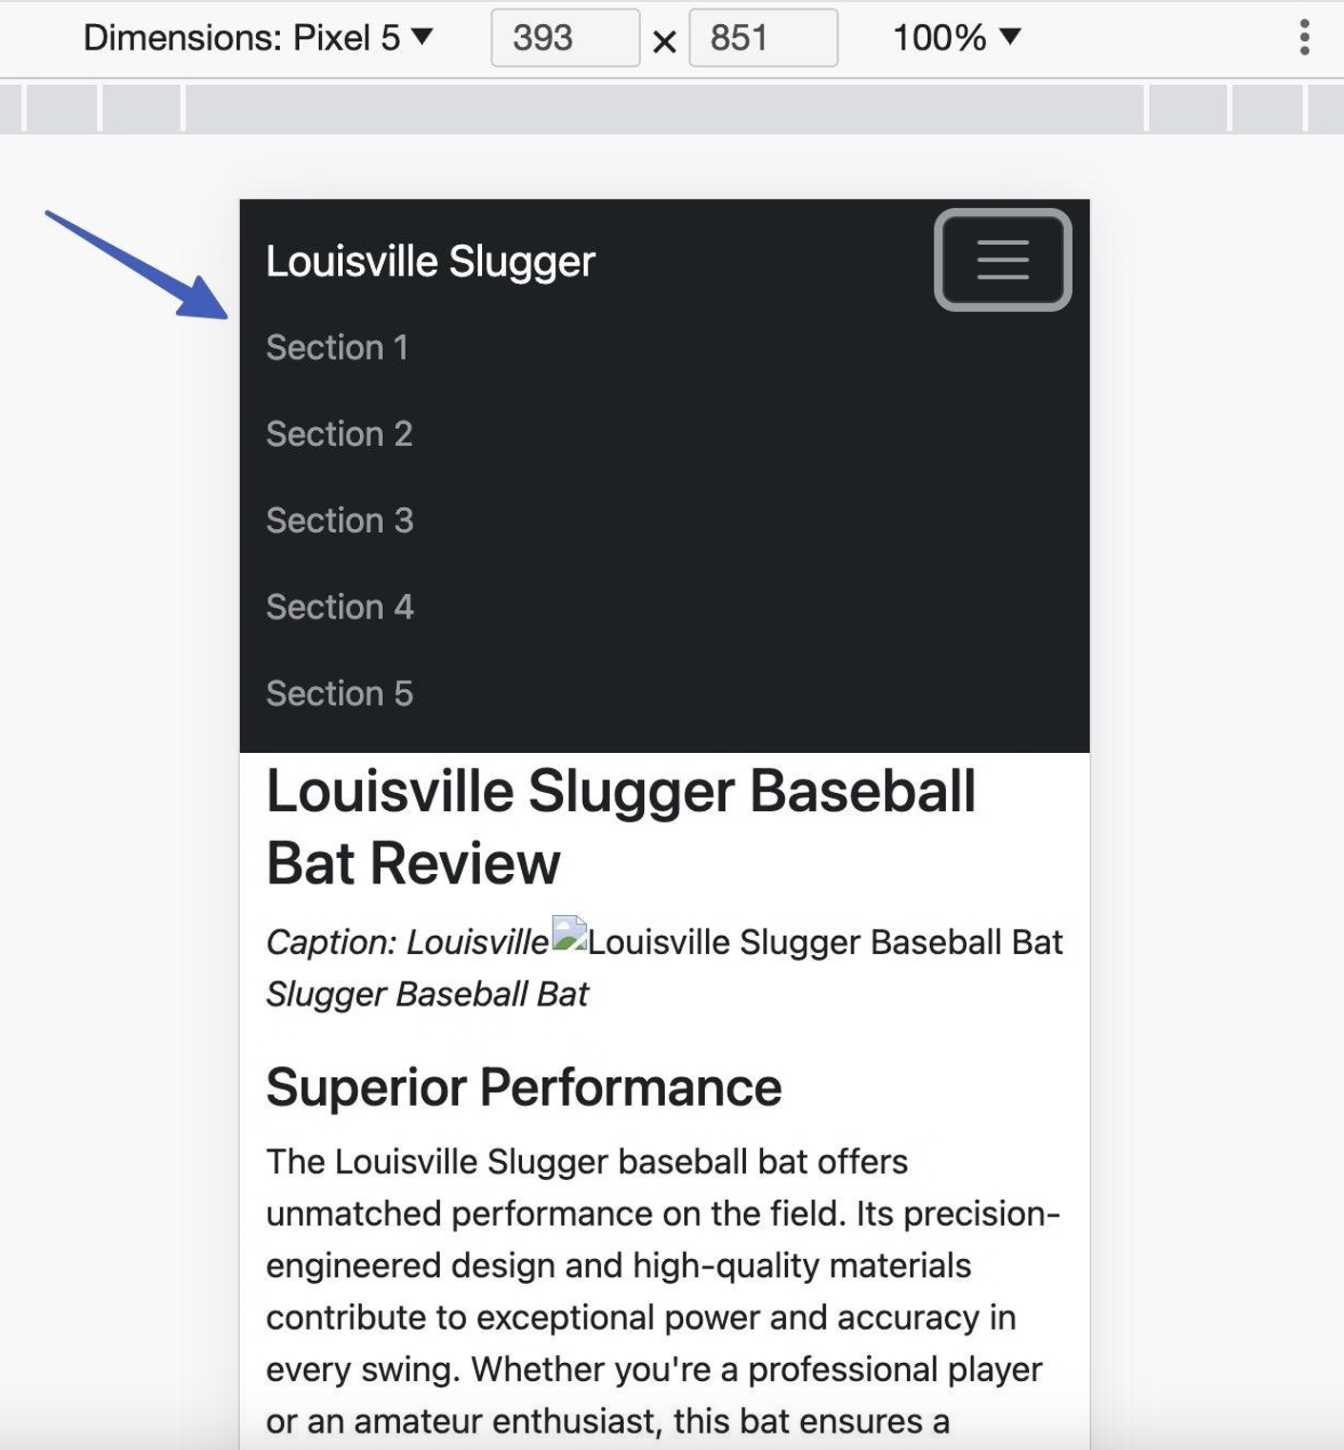
Our website looks quite polished, but if you have any issues, we suggest revisiting ChatGPT and asking them to utilize the latest version of Twitter Bootstrap, since this frequently resolves responsiveness issues. Alternatively, you can request ChatGPT to restore the site's responsiveness, as it was not successful initially.
Step 5: Replace the image path URLs
While learning to utilize ChatGPT for website creation, you will discover the need to provide your own picture path URLs for media to be shown on the site.
ChatGPT has already applied styling and dimensions constraints to the images, however it just provided a placeholder image location in the html.index file.
Return to the file in your code editor, and search for the image src= tag.
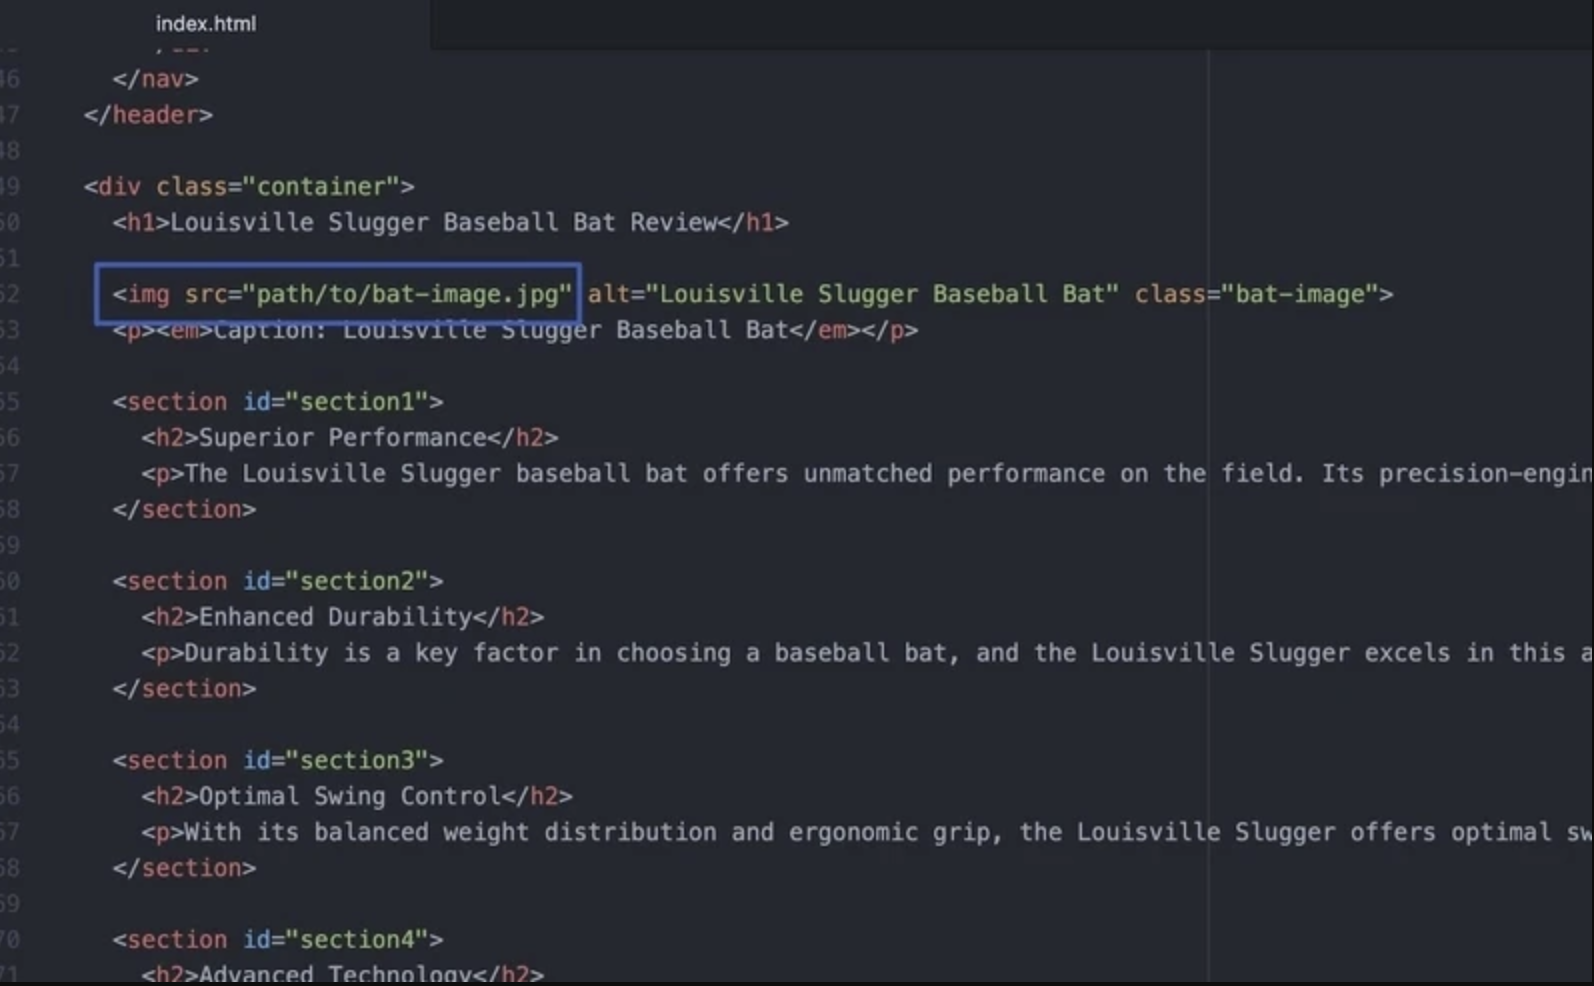
You should substitute the section within the quote marks (path/to/bat-image.jpg, or the name of the file you have).
Ideally, you should utilize pictures you have taken yourself or ones you have obtained permission to post online. Alternatively, there are Creative Commons choices available on platforms like as Unsplash or our own stock photographs that are free from copyright restrictions.
Additionally, you should host the picture on a server that you manage. Just taking the URL from a photo on Google could lead to legal issues, and there's a possibility that it might be taken down from the server because you don't have control over it. You can frequently store photographs on your hosting account, or at no-cost platforms such as Google Photos. The aim is to obtain the URL for the image.
With the web address of your image ready, insert it into the quotation marks where the temporary text was.
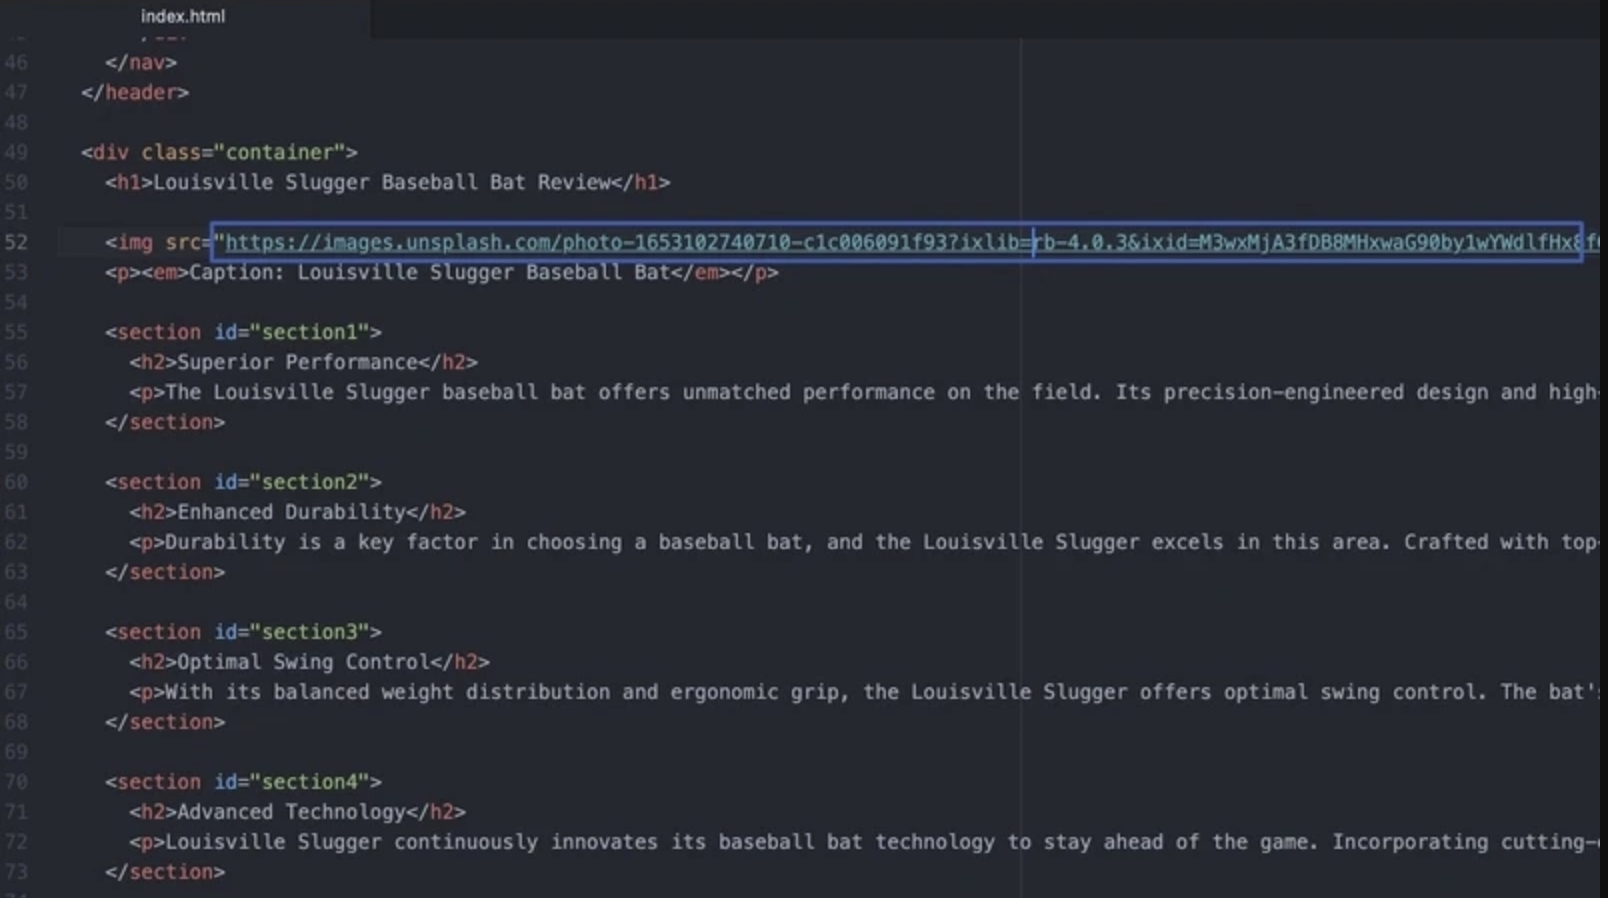
To keep things simple, we're utilizing a picture from Unsplash (not ideal for a website you intend to make public).
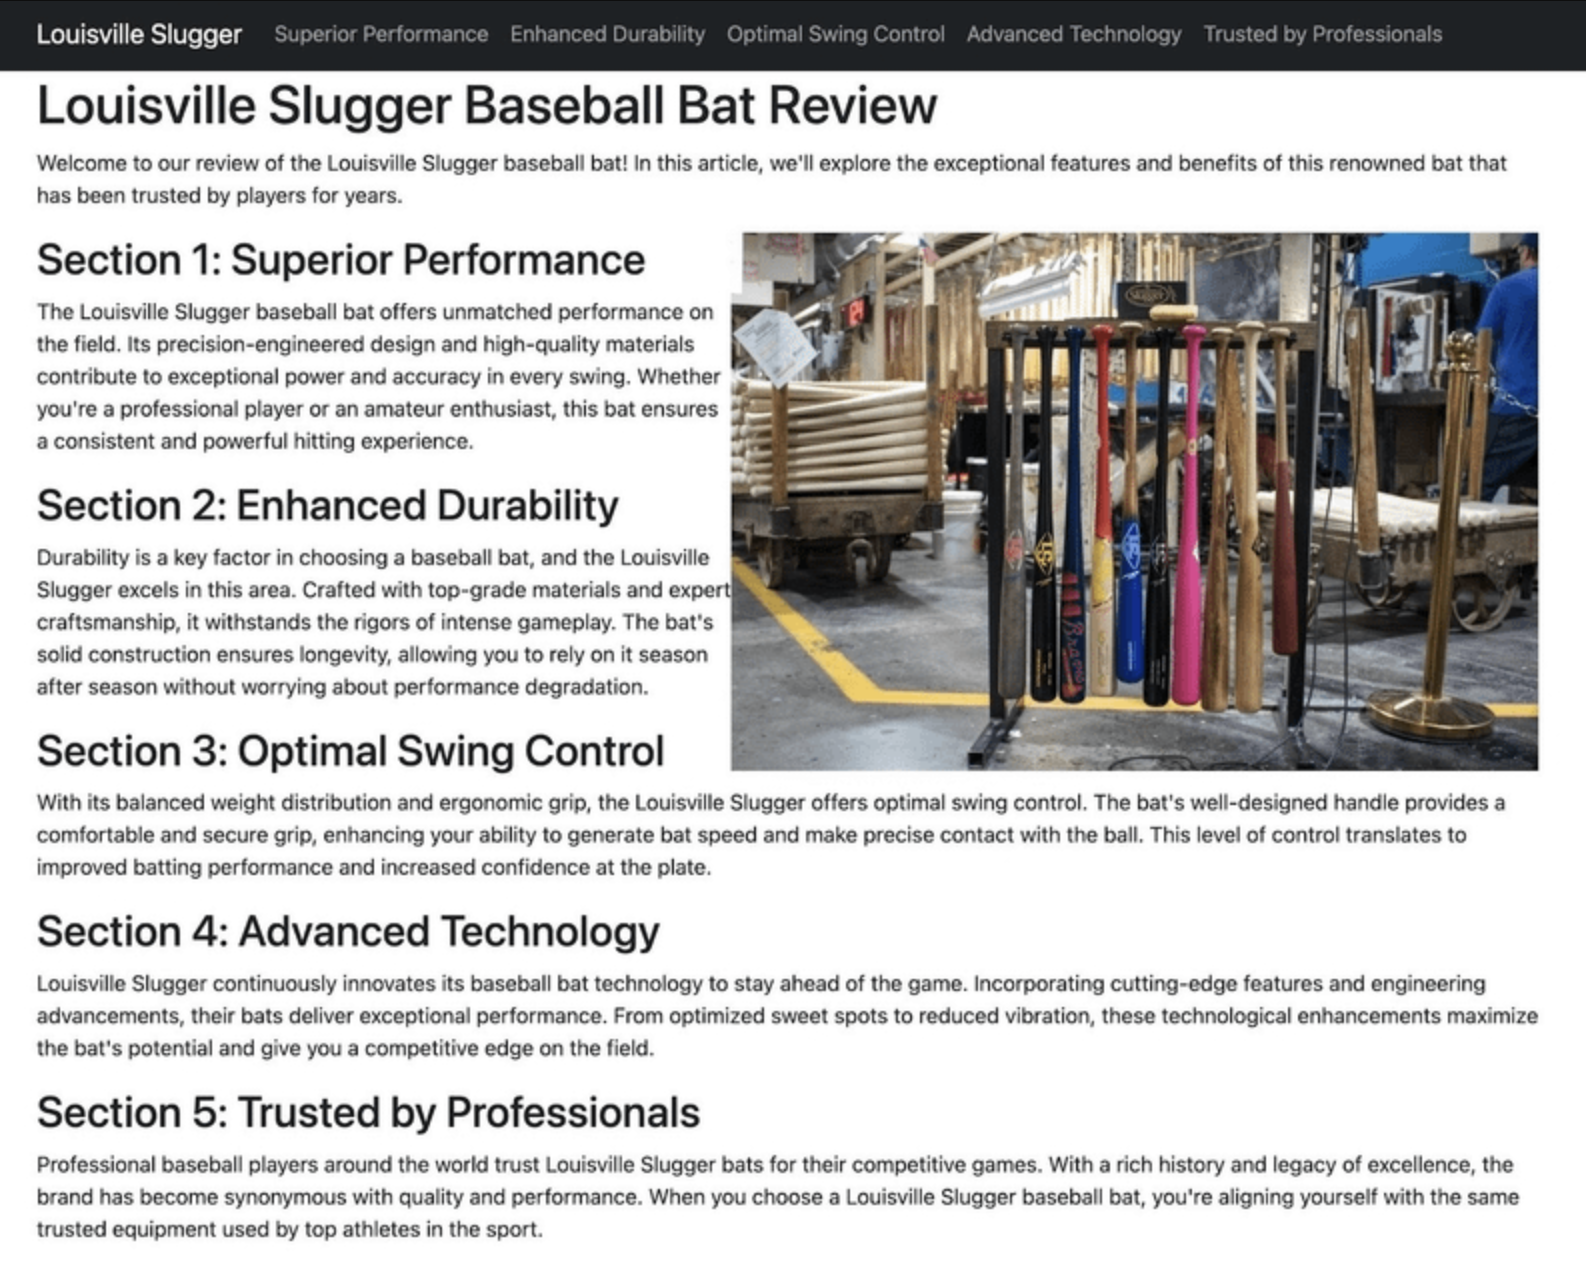
Save the document and then update your browser. The outcome was quite satisfactory. ChatGPT transmitted the image to the right as we asked, and the text adjusts to fit around it no matter the screen size. The only problem is that the caption is not positioned under the image.

No problem, though. A prompt to ChatGPT can address that quickly.

Some other adjustments I made:
- I ended up deleting the caption because it didn't look well and had issues on other devices.
- I requested ChatGPT to label the navigation links for their respective parts.
- Also, I asked for a little introduction to be included before the image and the initial part.
The result:
Here is the code if you want to use it as a template for your website:
Step 6: Ask for a footer file from ChatGPT
Clearly, we can dedicate a considerable amount of work on ChatGPT to create a more visually appealing website with many features. However, it will be your decision to ask for features like as many pages, CSS files, and hero images or sliders utilizing CSS or JavaScript. Remember that you will have to create several files for those instances and then submit all of them to your host.
For this example, though, we want to include one last component: a footer. This completes the ChatGPT-created website effectively, enabling us to add relevant details such as a copyright notice.
Feel free to choose your preferred language, however here is our suggestion:
“Can you give me the code for an HTML footer that matches the page we made earlier? Kindly add a copyright notice for the present year. Additionally, provide links to a privacy policy and terms of service websites. Center all the footer material for all devices. Apply a dark background to the footer and use light text color"
ChatGPT replied with:
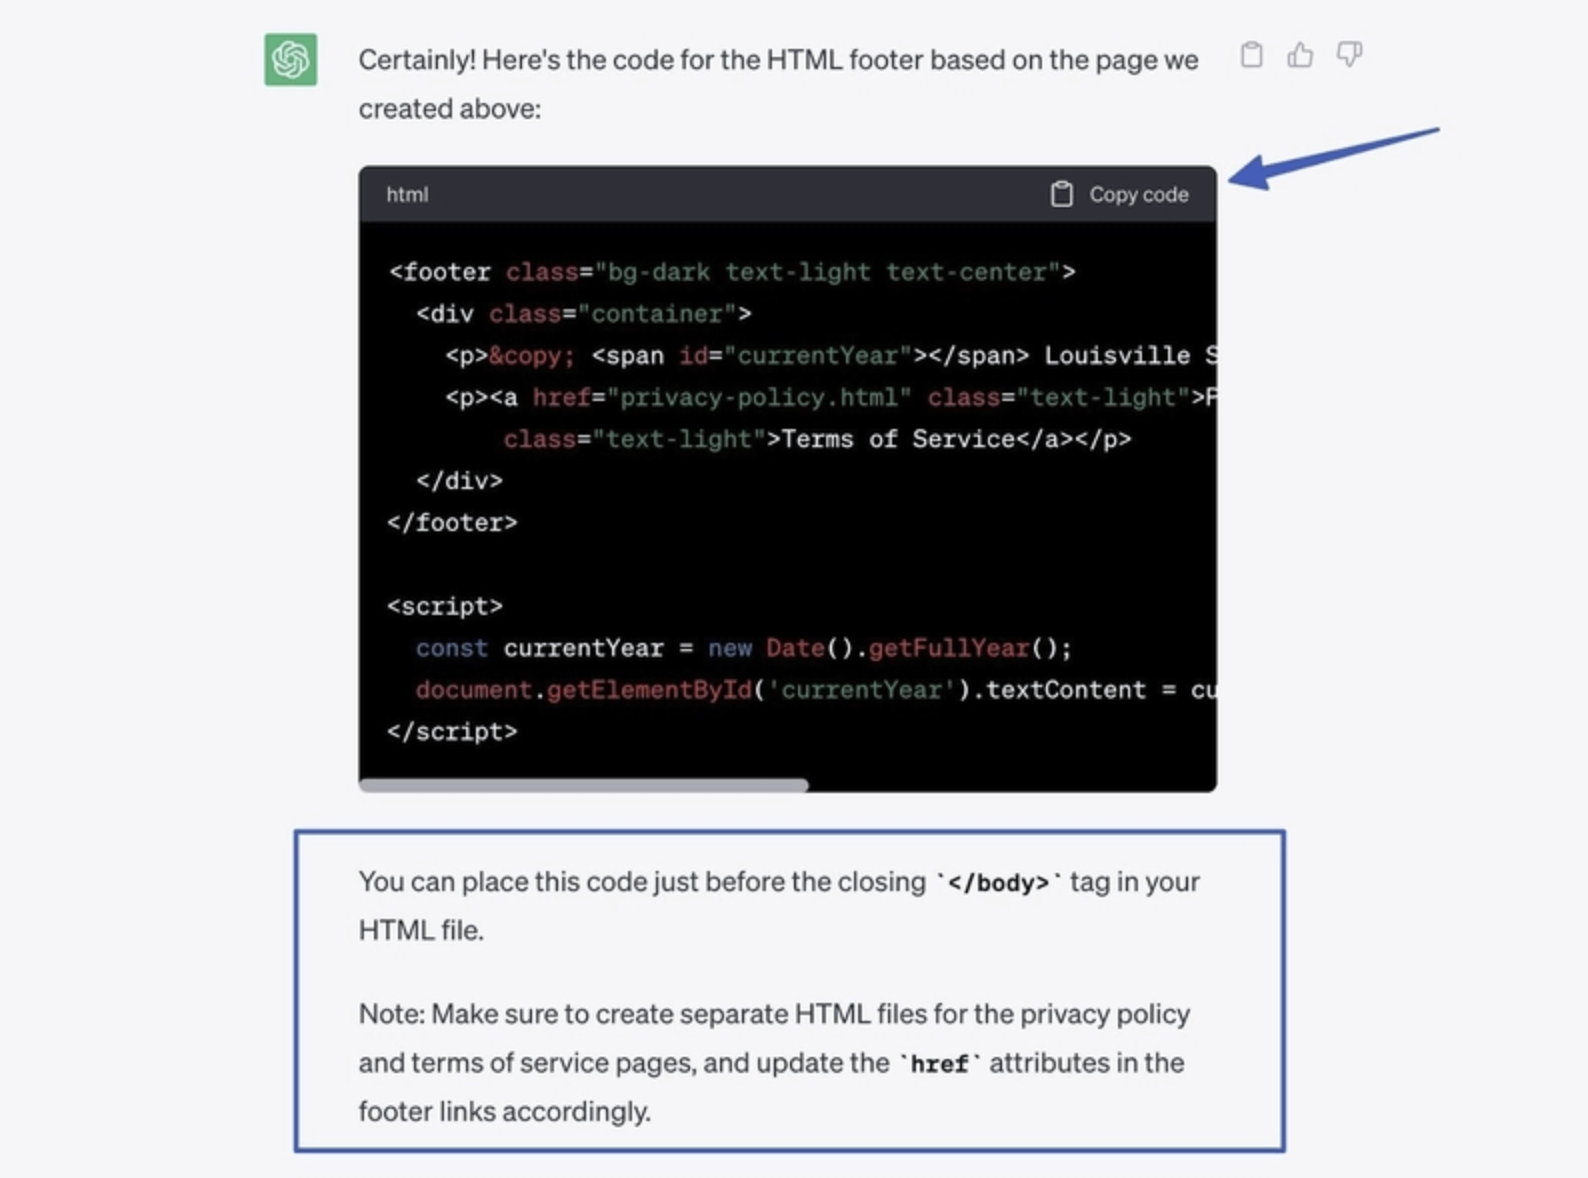
Copy that code, and find the </body> tag in your HTML file. Paste the footer code right before the closing </body> tag.
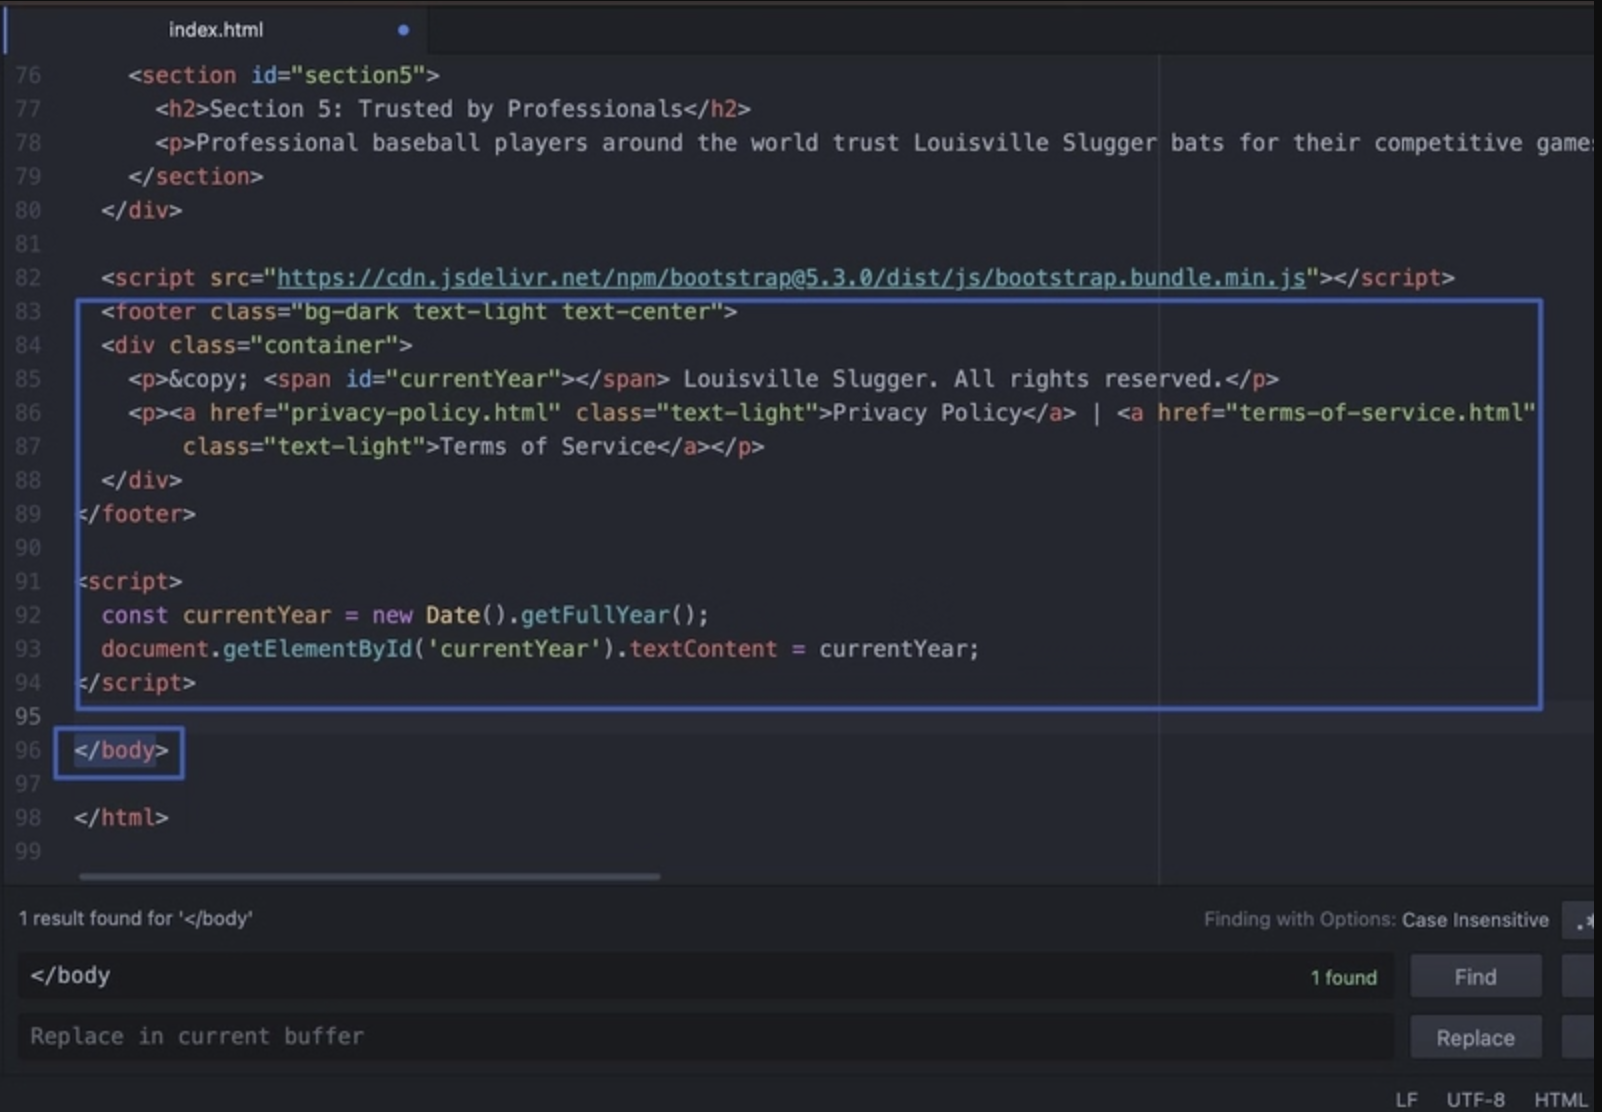
After saving the file and reloading the browser, we now have a finished one-page website with footer, menu, image, and content!

Note: You might have observed that ChatGPT provided instructions on how to include numerous pages on your website. We won't delve into that in this piece. However, the key concept is to generate individual HTML files for additional pages (such as our Privacy Policy and Terms of Service), and then modify the 'href' attributes where those pages are connected (similar to how we linked to pages in our footer).
Step 7: Upload files to the web host of your choosing
The final task is to transfer your HTML file and place it on a server. To do this, you require a web host.
Here is a list of the top web hosting choices that have been compared and evaluated.
Create an account using a hosting provider such as Bluehost, SiteGround, or Hostinger. Keep in mind that many managed hosting services such as Kinsta and Flywheel only support WordPress websites, meaning you cannot upload a simple HTML file to their platforms.
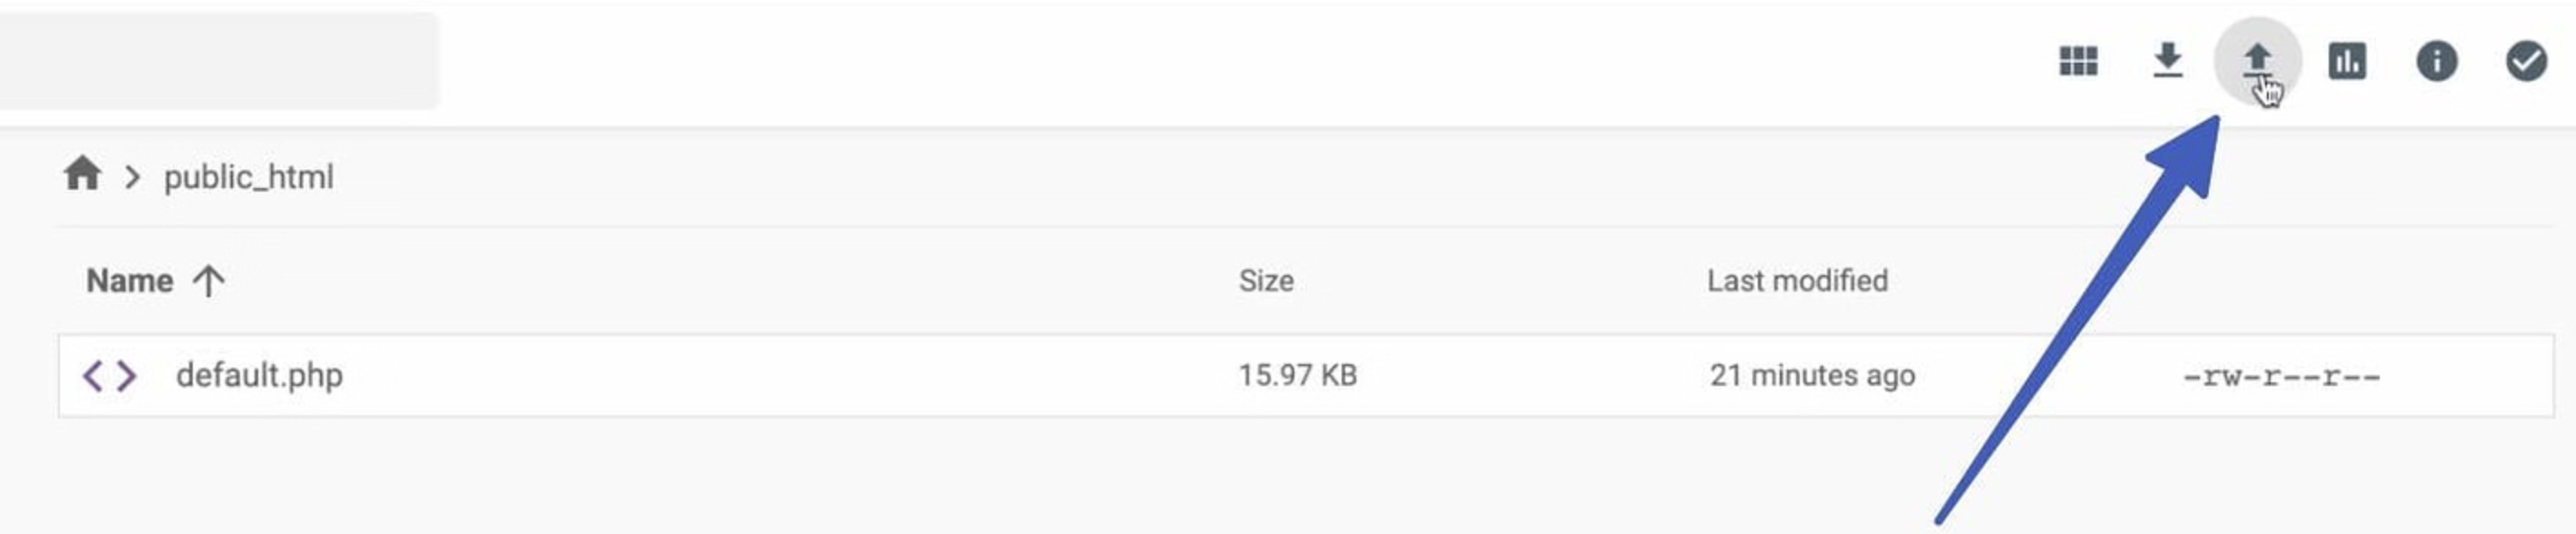
Visit the host’s dashboard and locate the File Management section. Access the public_html folder.
For instance, in the Hostinger File Management section, there should be a demonstration default.php file displayed within the public_html directory. Press the Upload button to insert your HTML file.
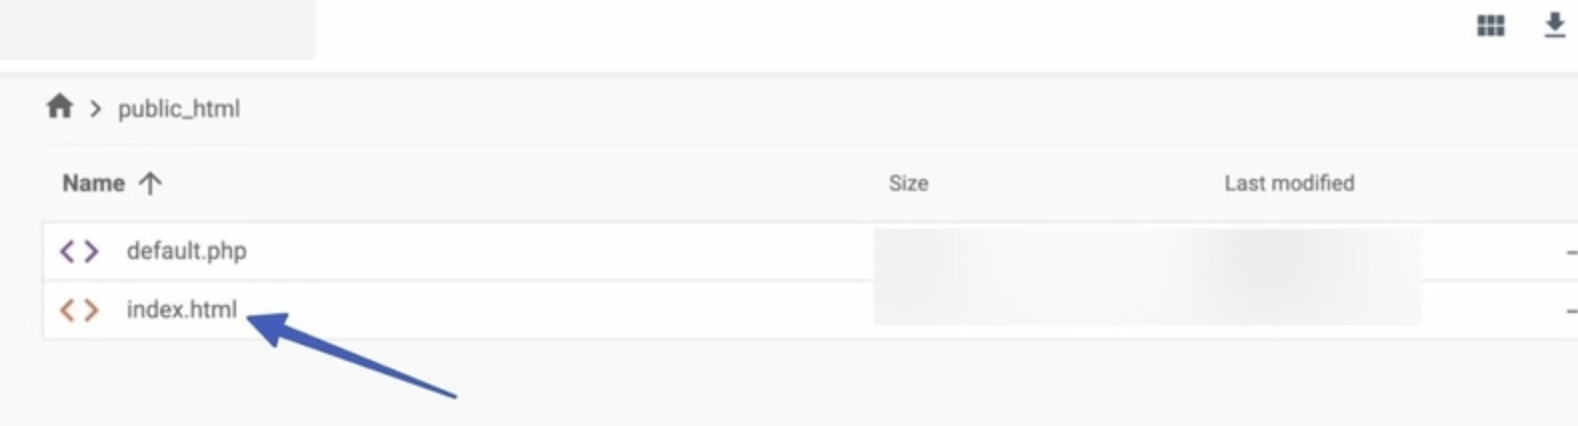
After that, you should find your HTML file stored in the directory.
Go to the front end of your hosted website (assuming you have already added a domain or created a sandbox environment). Your AI-created website is now live for everyone to view!

Last word on how to use ChatGPT to build a website
You can create a website with ChatGPT in a variety of ways. It can be used in conjunction with other AI tools, such as image creation tools. You may come up with concepts for products, company names, or blog posts.
In some cases, asking platform-specific code is even available, based on your content management system or website builder (for example, if you use Shopify, you can request Liquid code).
However, you have to be aware of the following restrictions while using ChatGPT to create a website:
- For ChatGPT, accuracy is frequently a problem, particularly when dealing with current events and data or things that change frequently, such product prices.
- What is already available online is all that ChatGPT can access. Therefore, it is preferable to create original content if originality is the desired outcome. If not, it's simply copying from other content producers.
- Content on ChatGPT frequently sounds robotic and stiff. Make sure you review artificial intelligence information twice and start reworking it.
- Although Google doesn't currently penalize AI-generated content directly, it has recently included a "experience" component in its assessments of content ranking. Many view this as a means of countering subpar AI material, as Google can now determine whether the writer has firsthand knowledge of the subject matter (for example, ChatGPT is unable to produce a credible blog post about Italy because it is unable to fly there).
We hope that using ChatGPT has helped you in your site design and content production endeavors. While it shouldn't be used in place of skilled developers, it can certainly make some laborious jobs go more quickly!
